
 Get Palette Grid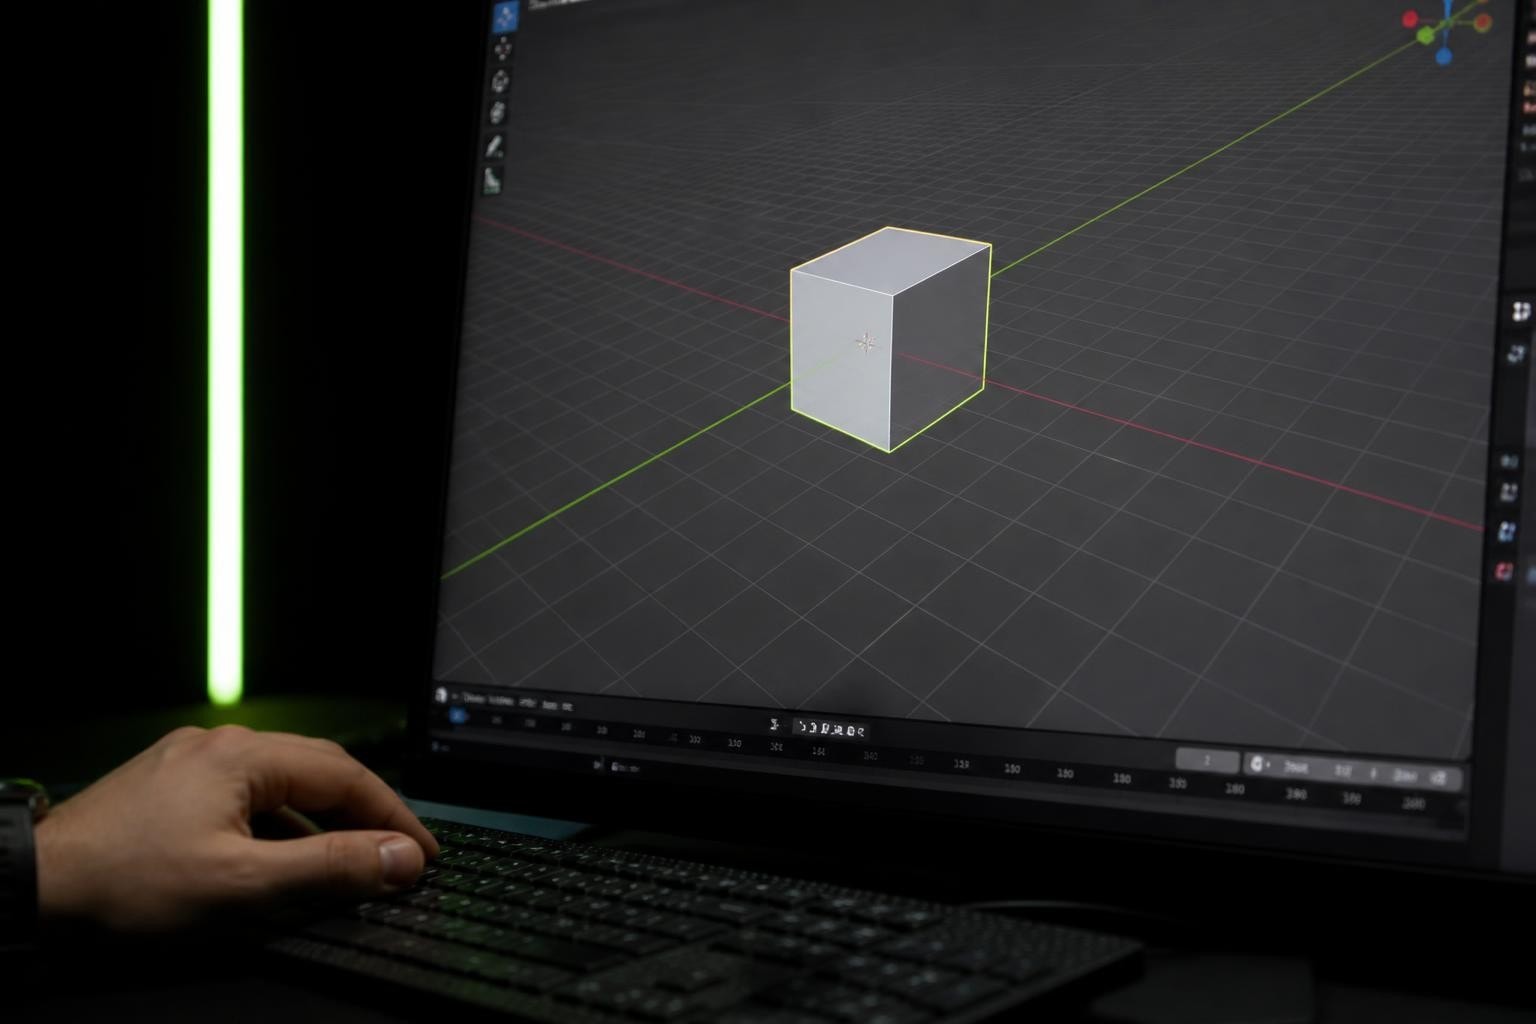
The blender grid is one of the most fundamental yet often underappreciated tools in Blender's 3D viewport. This reference system provides spatial awareness, measurement accuracy, and alignment precision that separates amateur work from professional production assets. Whether you're modeling game environments, creating stylized characters, or building architectural visualizations, understanding how to leverage the blender grid transforms your workflow efficiency and output quality. This comprehensive guide explores grid configuration, snapping techniques, practical applications, and advanced strategies that working 3D artists use daily.
Understanding the Blender Grid System
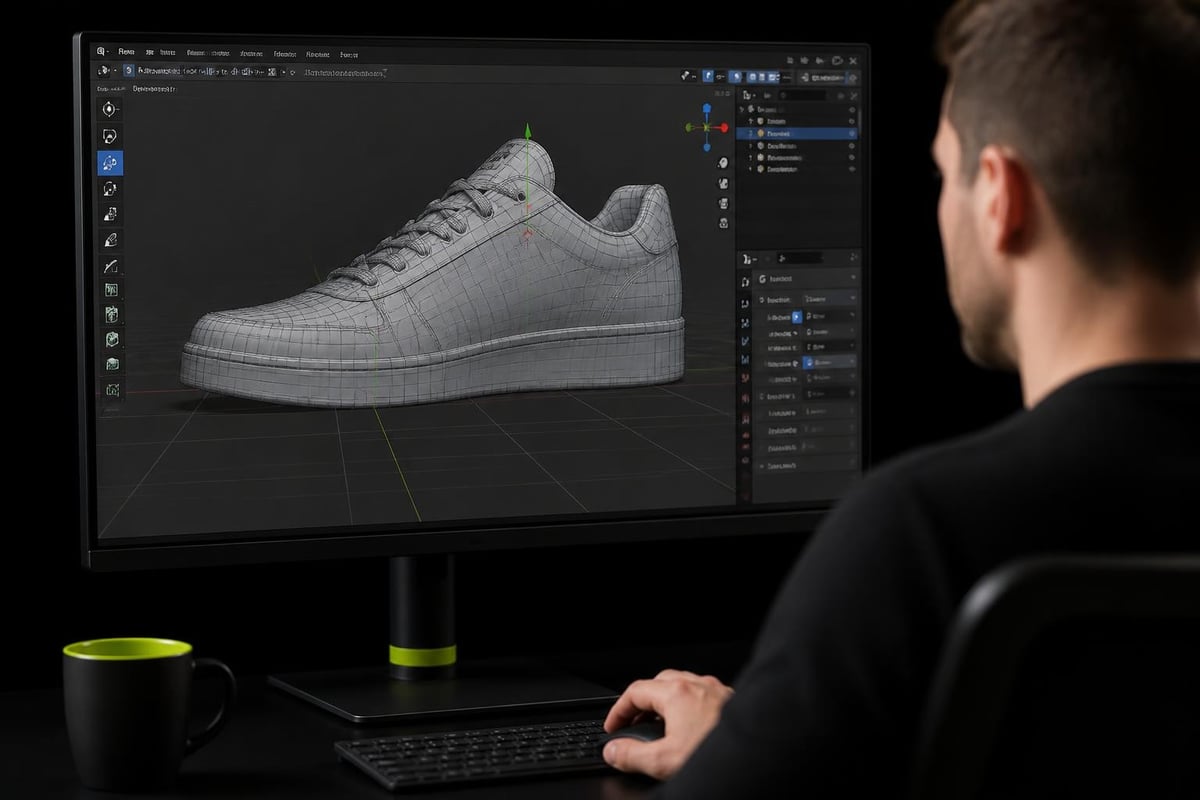
The blender grid appears as a horizontal plane in the 3D viewport, displaying a series of lines that create a reference framework for spatial positioning. By default, Blender displays this grid at the world origin (0, 0, 0) with lines spaced at regular intervals based on your scene's unit scale.
The grid serves three primary functions: spatial reference, measurement guide, and snapping target. Artists working on pixel art in Blender especially benefit from precise grid alignment, as pixel-perfect positioning requires exact coordinates.
Grid Display Properties
The blender grid appearance adapts to your viewport zoom level, showing more or fewer subdivision lines to maintain visual clarity. When zoomed far out, only major grid lines appear. Zooming closer reveals progressively finer subdivisions. This dynamic scaling prevents visual clutter while maintaining usable reference points at any magnification.
Key grid display elements include:
- Major grid lines (darker, thicker lines at regular intervals)
- Minor subdivision lines (lighter, finer divisions)
- Axis indicators (red for X-axis, green for Y-axis)
- Scale indicators that show real-world measurements
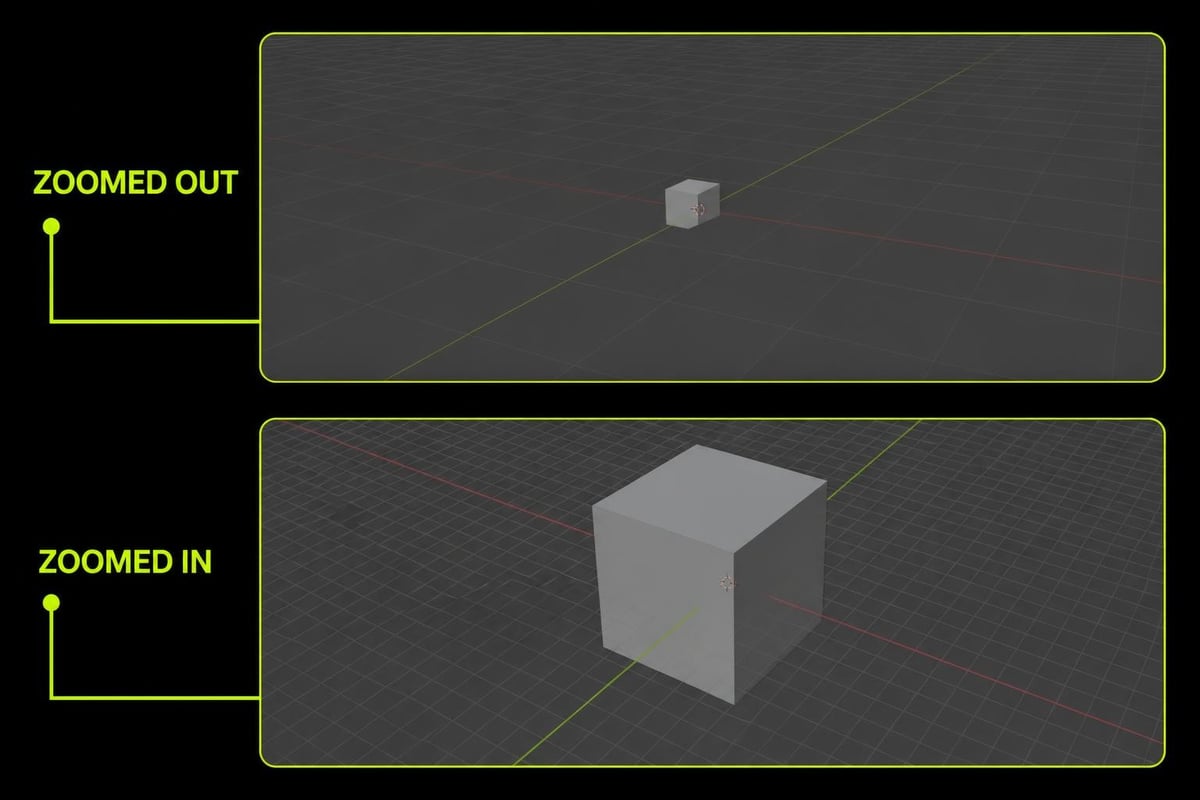
The grid floor orientation aligns with your current view mode. In orthographic top view, the grid represents the XY plane. Switching to front view rotates the grid to represent the XZ plane. This contextual adaptation helps artists maintain orientation regardless of viewing angle.
Configuring Grid Scale and Units
Proper grid configuration ensures your blender grid matches your project requirements. Game developers building environments at specific scales need different grid settings than motion graphics artists or product designers.
Setting Unit Scale
Navigate to Scene Properties to access unit configuration. Blender supports metric, imperial, and custom unit systems. The unit scale multiplier adjusts how Blender interprets these measurements in relation to the grid.
For game development, setting units to meters with a scale of 1.0 creates a grid where each square represents one square meter. This matches Unity and Unreal Engine conventions. Character modelers often work at smaller scales, using centimeters or setting the unit scale to 0.01 to work comfortably at character height.
| Unit Setting | Scale | Grid Square | Best For |
|---|---|---|---|
| Meters | 1.0 | 1m × 1m | Environments, architecture |
| Centimeters | 1.0 | 1cm × 1cm | Small props, details |
| Meters | 0.01 | 10cm × 10cm | Characters, creatures |
| Custom | Variable | Adjustable | Specific technical requirements |
Adjusting Grid Subdivisions
The Overlay settings control how many subdivision lines appear between major grid lines. Increasing subdivisions provides finer positioning reference. Changing grid size in Blender requires understanding the relationship between unit scale, grid floor scale, and subdivision count.
Access these settings through the viewport overlays dropdown (top right of 3D viewport). The "Scale" slider adjusts the spacing between major grid lines, while "Subdivisions" controls how many minor lines appear between them.
Snapping to the Blender Grid
Grid snapping is where the blender grid transforms from visual reference to precision tool. Blender's snapping system locks transformations to grid intersections, ensuring perfect alignment and consistent spacing.
Enabling Grid Snap
Activate snapping by clicking the magnet icon in the 3D viewport header or pressing Shift+Tab. The dropdown menu next to the magnet icon sets the snap target. Select "Increment" to snap to grid divisions.
With increment snapping enabled, moving objects jumps them from one grid line to the next. The snap increment matches your grid subdivision settings, creating predictable, measured movement. This technique proves invaluable when texturing low poly game assets that require precise UV alignment.
Advanced Snapping Techniques
Absolute grid snapping ensures vertices align to the world grid regardless of their current position. The absolute grid snapping feature calculates the nearest grid intersection and moves the selection there, cleaning up off-grid geometry instantly.
Hold Ctrl while transforming to activate temporary snapping. This toggle lets you switch between free-form and grid-locked movement without changing settings. Experienced artists use this constantly, snapping for structural elements while moving freely for organic details.
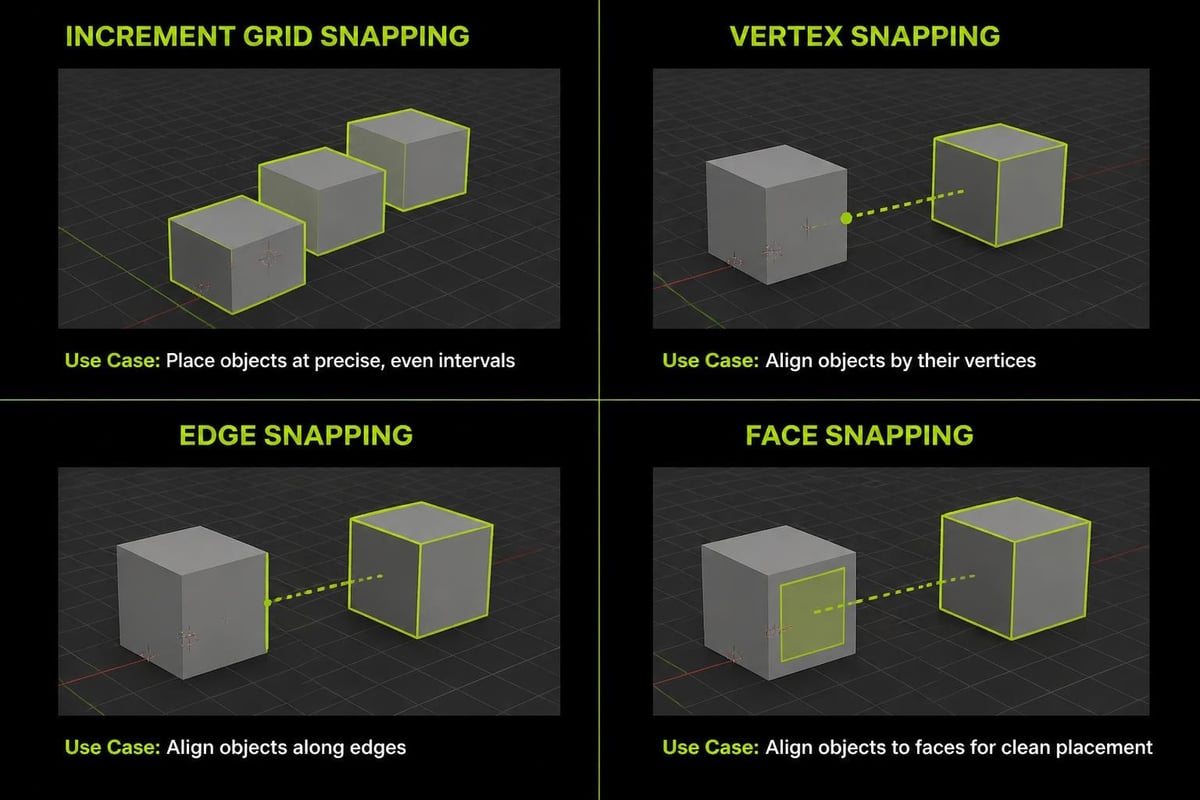
Snapping mode options:
- Increment - Snaps to grid subdivisions
- Vertex - Snaps to existing vertex positions
- Edge - Snaps to edge midpoints or closest points
- Face - Snaps to face centers or surface points
- Volume - Snaps to bounding box centers
The "Align Rotation to Target" option rotates objects to match the snapped element's orientation. Useful when placing objects on sloped surfaces or matching angles precisely.
Practical Grid Applications
The blender grid workflow integration varies significantly across different 3D disciplines. Understanding these applications helps artists leverage grid features for their specific needs.
Architectural Modeling
Architectural work demands extreme precision. A blender grid configured to architectural units (feet, inches, or meters) ensures walls align perfectly, doorways maintain standard dimensions, and floor plans match real-world measurements.
Start architectural models by setting the grid to match your building's structural module. If working with a 4-foot grid system common in commercial construction, configure the unit scale accordingly. Model walls following grid lines, snap floor slab corners to intersections, and use the grid as a built-in measurement tool.
Game Asset Creation
Game developers use the blender grid to maintain consistent asset scales and ensure modular pieces fit together seamlessly. A character might occupy a 2×2 meter grid footprint, while environmental props snap to 1-meter increments for level design flexibility.
Reducing draw calls and texture memory in stylized games often involves creating modular assets that share textures and snap together on grid positions. The blender grid becomes the foundation for this modular workflow, ensuring pieces align without gaps or overlaps.
Hard Surface and Technical Modeling
Hard surface artists modeling vehicles, weapons, or mechanical objects rely heavily on precise measurements and symmetrical construction. The blender grid provides the reference framework for panel alignment, mechanical clearances, and technical accuracy.
Combine grid snapping with Blender's array and mirror modifiers to create perfectly spaced, symmetrical structures. Model one gear tooth aligned to the grid, then array it in a perfect circle using rotation snapping locked to degree increments.
Grid Fill and Mesh Utilities
Beyond positioning and alignment, Blender includes mesh editing tools that leverage grid structures. The Grid Fill tool creates quad-based topology between edge loops, essential for clean mesh flow.
Using Grid Fill
Select two parallel edge loops with the same vertex count. Activate Grid Fill from the Face menu (Alt+F). Blender generates a grid of quad faces connecting the loops, maintaining even spacing and predictable topology flow.
Grid Fill parameters:
- Span - Number of edge loops between selections
- Offset - Shifts the grid pattern to adjust flow direction
- Simple Blending - Creates simpler interpolation for cleaner results
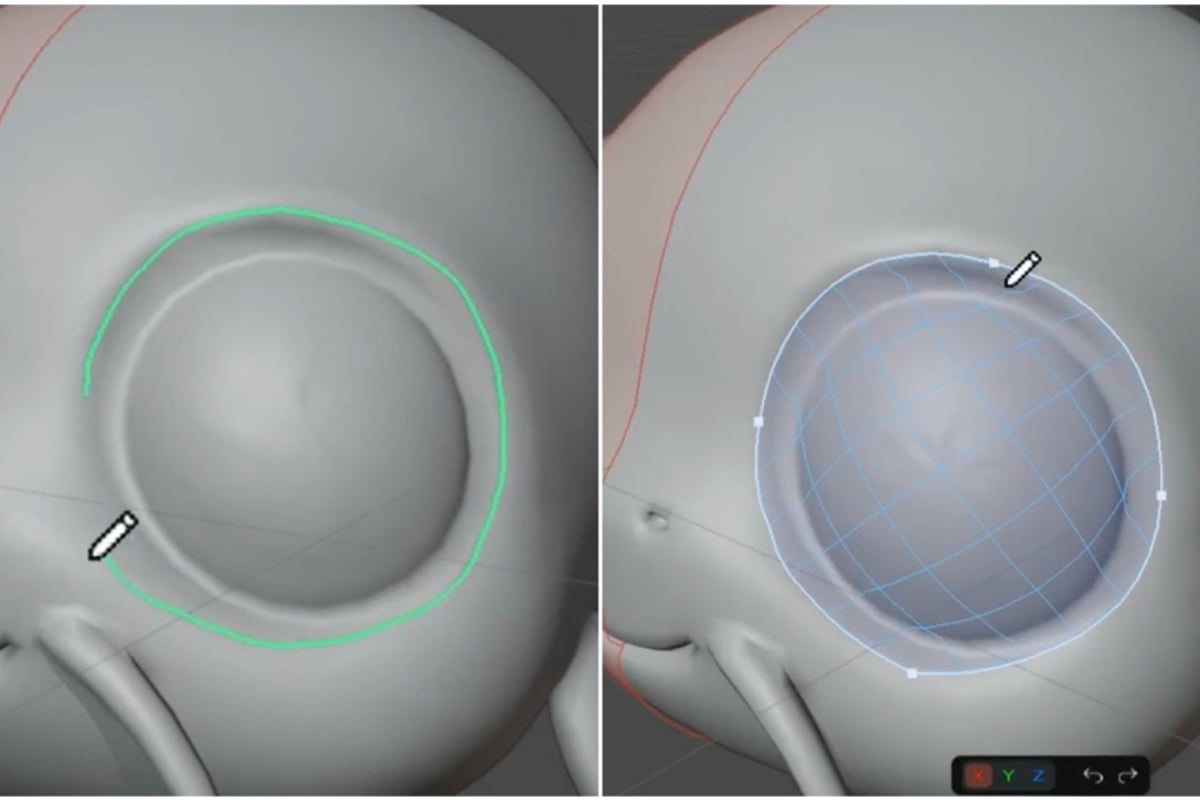
This tool shines during retopology work, where clean quad topology must follow form while maintaining structured edge flow. Artists can sketch loops over organic surfaces, then use Grid Fill to connect them with regular topology.
When working on complex retopology projects, having tools that accelerate the process becomes essential. RetopoSketch transforms retopology from tedious vertex placement into intuitive stroke-based quad mesh creation, letting artists draw edge flow directly on 3D surfaces.
Array Modifier Grid Workflows
The blender grid pairs perfectly with array modifiers to create repeated structures. Model a single fence post aligned to grid coordinates, add an array modifier with X-offset matching your grid spacing, and generate an entire fence section with perfect spacing.
| Modifier Type | Grid Application | Result |
|---|---|---|
| Array | Count-based offset matching grid units | Evenly spaced repetition |
| Mirror | Grid-aligned pivot point | Perfect symmetry |
| Lattice | Lattice resolution matching grid subdivisions | Structured deformation |
Overlay Customization and Workflow Optimization
Customizing how the blender grid appears streamlines workflows by reducing visual noise and emphasizing relevant information. Different tasks benefit from different overlay configurations.
Overlay Settings Deep Dive
Access comprehensive overlay controls through the viewport shading options. Toggle the grid display entirely when working on organic sculpting where grid reference creates distraction. Enable it for hard surface work where alignment matters constantly.
Essential overlay toggles:
- Grid floor on/off
- Orthographic grid opacity
- Axis visibility (X, Y, Z indicators)
- Scale and unit display
- Relationship lines between objects
Artists working on stylized and low poly projects often prefer minimal overlays with high-contrast grid lines. This reduces viewport clutter while maintaining essential alignment tools.
Custom Grid Colors and Visibility
Blender's theme editor allows complete customization of grid line colors and intensities. Adjust these settings under Preferences > Themes > 3D Viewport > Grid. Increase contrast for better visibility or reduce opacity to make the grid less prominent during sculpting and organic modeling phases.
The grid adapts to different viewport shading modes. Solid shading displays the standard grid, while Material Preview and Rendered modes can hide it entirely for cleaner preview rendering. Configure per-mode settings to maintain orientation reference in modeling mode while previewing final appearance without grid interference.
Advanced Grid Techniques for Production
Professional production environments develop specialized grid workflows that maximize efficiency and maintain consistency across team members and assets.
Multiple Grid Scales
Complex projects often require working at different scales simultaneously. A city environment might use a 10-meter grid for street layout while individual buildings use a 1-meter grid for architectural detail.
Create collections for different scale ranges and use Local View (NumPad /) to isolate work at specific grid configurations. Adjust grid scale when entering local view on precision collections, then restore the broader scale when returning to scene view. This workflow maintains context without constant settings adjustments.
Grid-Based UV Unwrapping
The grid concept extends beyond 3D viewport positioning into UV mapping workflows. When unwrapping UVs in Blender, enabling snapping in the UV Editor aligns islands to pixel boundaries, critical for pixel art textures and texture atlas packing.
Smart UV Project combined with grid snapping creates UV layouts that respect texture pixel grids, ensuring crisp rendering without blurring from sub-pixel positioning. This precision matters significantly for palette texture workflows where exact color sampling determines final appearance.
Script-Driven Grid Workflows
Python scripting extends blender grid functionality beyond built-in tools. Custom scripts can snap entire scenes to grid positions, validate that all vertices align to grid increments, or generate grid-based patterns automatically.
Artists building procedural generation systems often script grid-aligned placement. A vegetation scatter script might generate tree positions on grid intersections, then add controlled randomization while respecting minimum grid-based spacing. This creates natural-looking distribution that maintains technical requirements for game engine optimization.
Grid Alternatives and Complementary Tools
While the blender grid provides essential spatial reference, other systems complement or replace it for specific tasks.
Custom Measurement Tools
The Measure tool (Tools > Measure) creates temporary measurement annotations anywhere in 3D space. These annotations work independently of the grid, measuring exact distances regardless of grid alignment. Useful for verifying dimensions on organic forms or angled surfaces where grid reference doesn't naturally apply.
Guide Objects and Empty Arrays
Create custom reference grids using empty objects arranged in arrays. This technique generates alignment guides at non-standard intervals or creates radial grids for cylindrical structures. Empty arrays persist in the scene, providing consistent reference across work sessions without relying on viewport grid settings.
Addon-Enhanced Grid Systems
Various addons extend Blender's native grid capabilities. Some provide specialized grids for specific workflows (hexagonal grids for game tiles, isometric grids for 2.5D games, or perspective grids for architectural visualization). Others add measurement tools, automatic grid alignment operators, or custom snapping behaviors tailored to specific industries.
The Saved Pixel blog regularly covers workflow optimization techniques that build on fundamental tools like the blender grid to create faster, more reliable production pipelines.
Troubleshooting Common Grid Issues
Even experienced artists encounter grid-related challenges. Understanding common issues and their solutions prevents frustration and maintains workflow momentum.
Grid Not Visible
If the blender grid disappears, check overlay settings first. The grid toggle might be disabled, or opacity reduced to zero. Verify that your viewport isn't in Camera View or Local View mode, both of which can hide the grid depending on configuration.
Extreme zoom levels sometimes hide the grid to prevent visual clutter. Zoom to a moderate distance from the origin to restore grid visibility. Check that your clip start distance in viewport display settings hasn't pushed the grid beyond the near clipping plane.
Snapping Behaves Unexpectedly
Unexpected snapping behavior usually stems from incorrect snap mode selection or transform orientation mismatches. Verify that "Increment" mode is selected for grid snapping, not "Vertex" or other options.
Transform orientation (Global, Local, Normal, etc.) affects snap behavior. Objects rotated away from world axes might snap to their local grid rather than the world grid. Switch to Global orientation for consistent world-grid snapping regardless of object rotation.
Grid Scale Doesn't Match Scene Scale
Mismatched grid scales create confusion when measurements don't align with expectations. This usually indicates incorrect unit scale settings in Scene Properties. Verify that Unit Scale matches your intended working scale (1.0 for direct interpretation, 0.01 for centimeter work in a meter-based scene, etc.).
The grid floor scale multiplier in Overlay settings provides additional adjustment. If your grid squares should represent 2-meter intervals but currently show 1-meter, double the grid floor scale value.
Mastering the blender grid elevates your 3D work from approximate positioning to production-ready precision. Whether you're building modular game environments, creating technical hard surface models, or developing stylized assets with exact specifications, grid workflows provide the foundation for consistent, efficient production. Saved Pixel builds tools that complement this precision-focused workflow, helping working artists solve real production challenges with addons designed from hands-on development experience rather than trends.