 Get Palette Grid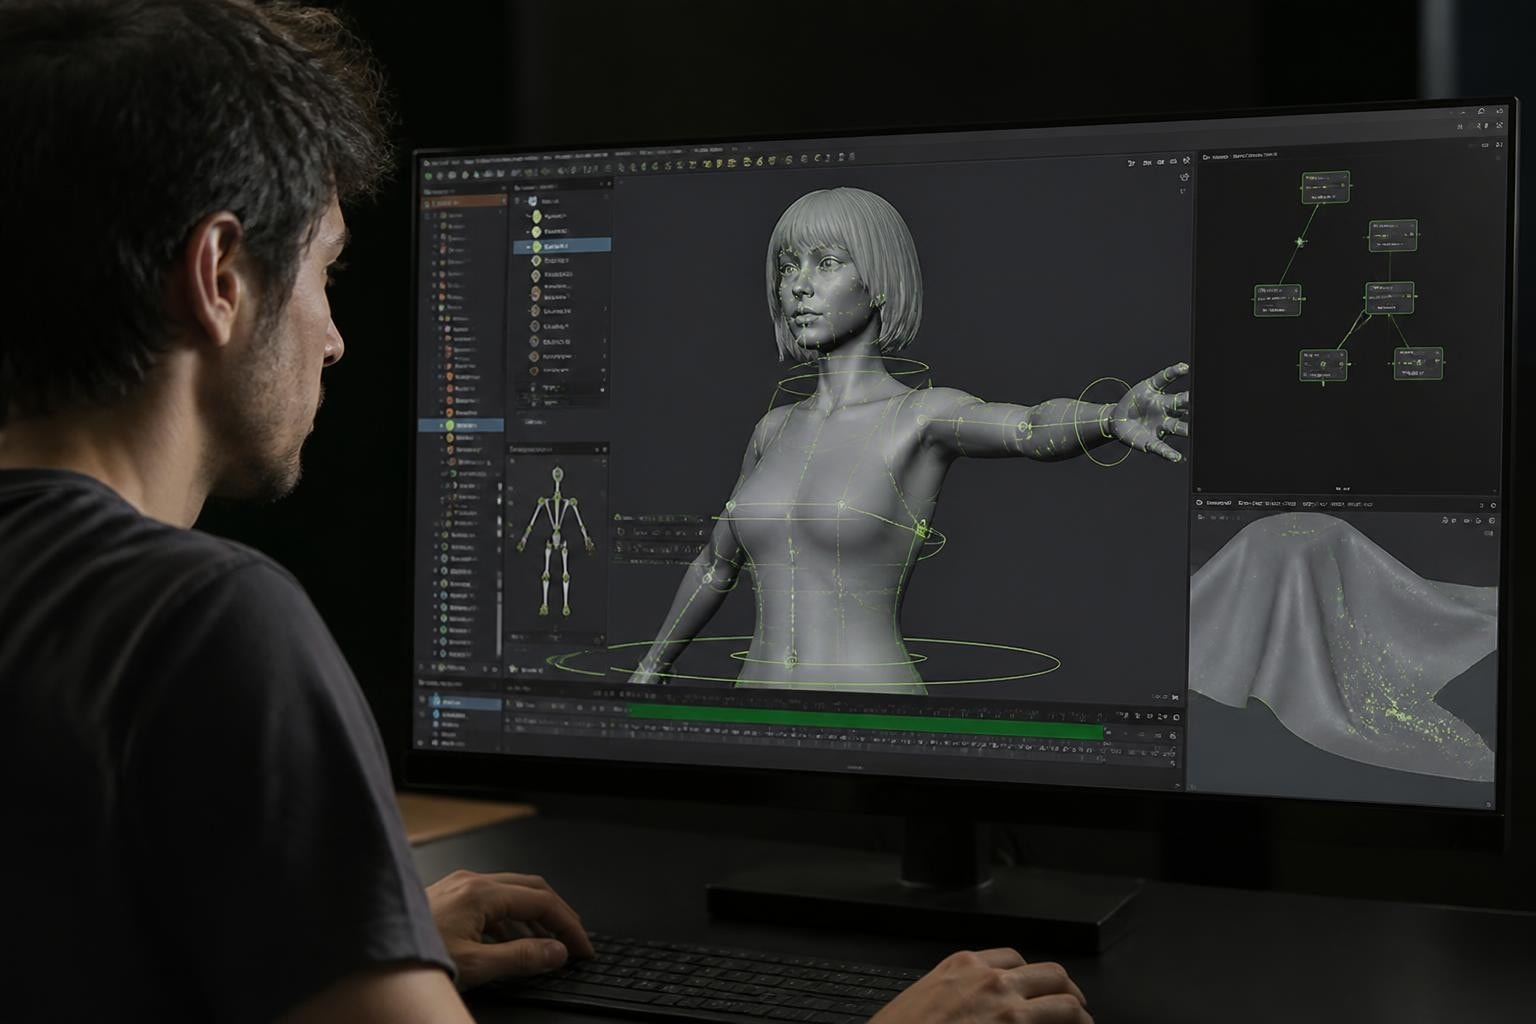
Professional 3D artists and game developers understand that mastering blender control separates efficient workflows from time-wasting struggles. Whether you're manipulating control points on curves, establishing bone hierarchies in character rigs, or managing physics simulations, the ability to precisely control every aspect of your Blender scenes determines the quality and speed of your output. This comprehensive guide explores the essential control systems in Blender that transform rough concepts into polished production assets, drawing from real studio workflows where every tool serves a specific production need rather than following trends.
Understanding Core Blender Control Systems
Blender offers multiple layers of control that interact to create complex 3D content. Each system serves specific purposes in production pipelines.
Curve Control Points and Precision Modeling
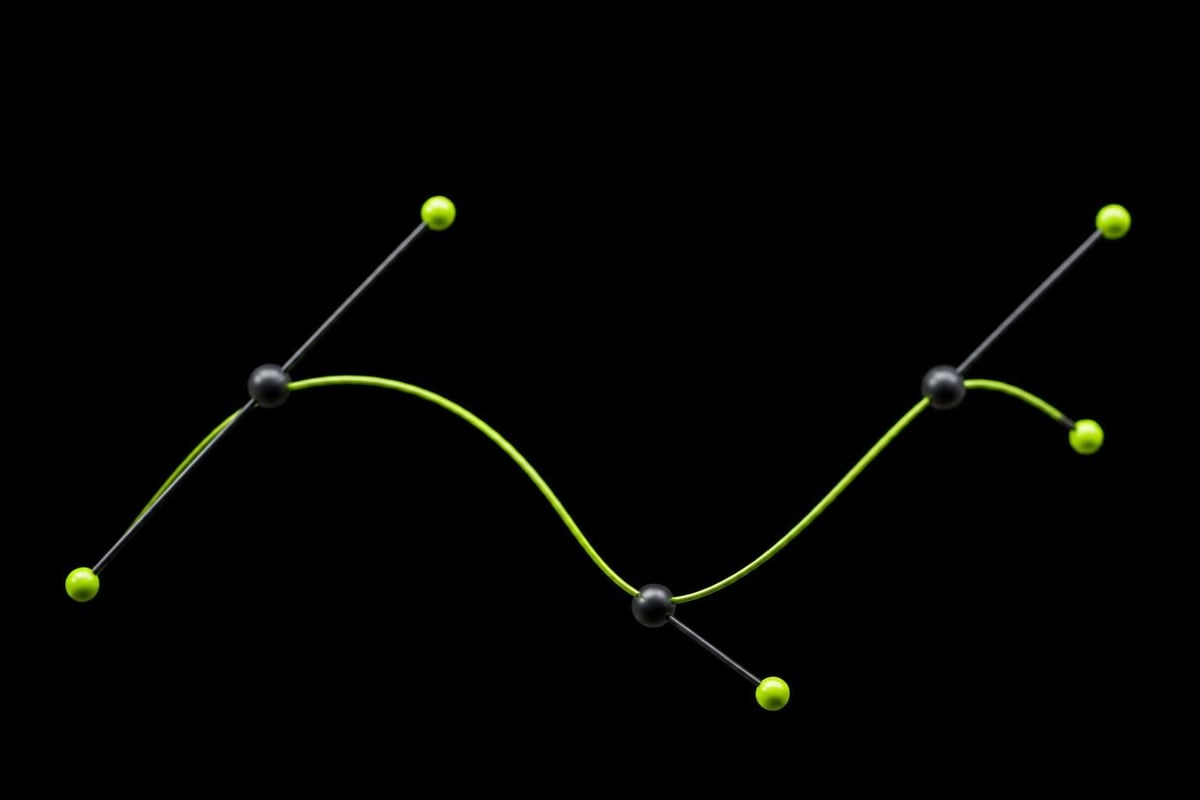
Manipulating control points forms the foundation of precise curve-based modeling. Control points define the shape and flow of curves through their position, handle type, and weight.
Key aspects of curve control include:
- Vector handles for sharp corners and mechanical designs
- Automatic handles for smooth, organic transitions
- Free handles for maximum artistic control
- Aligned handles for maintaining tangent continuity
The blender control mechanisms for curves extend beyond simple point manipulation. Artists can extrude new segments, subdivide existing spans, and adjust tilt rotation for complex profile sweeps. Production workflows benefit from understanding how control point density affects both visual quality and performance in game engines.
Armature and Bone Hierarchy Control
Character animation demands rigorous blender control over bone structures and their relationships. Parenting bones in armatures establishes the hierarchical control necessary for believable character movement.
Bone hierarchies propagate transformations from parent to child, enabling complex motion with minimal keyframes. A shoulder bone controls the upper arm, which controls the forearm, which controls the hand-this cascade creates natural movement patterns that mirror real anatomy.
| Bone Type | Purpose | Control Method |
|---|---|---|
| Root | Overall character position | Direct keyframing |
| Deform | Mesh deformation | Weight painting, constraints |
| Control | Animation interface | IK/FK systems, custom shapes |
| Mechanism | Hidden automation | Drivers, constraints |
Effective blender control in rigging separates the animation interface from the deformation system. Control bones provide animators with intuitive handles while hidden mechanism bones automate complex behaviors like shoulder rotation or hip twist. This separation streamlines animation workflows significantly.
Advanced Animation Constraints
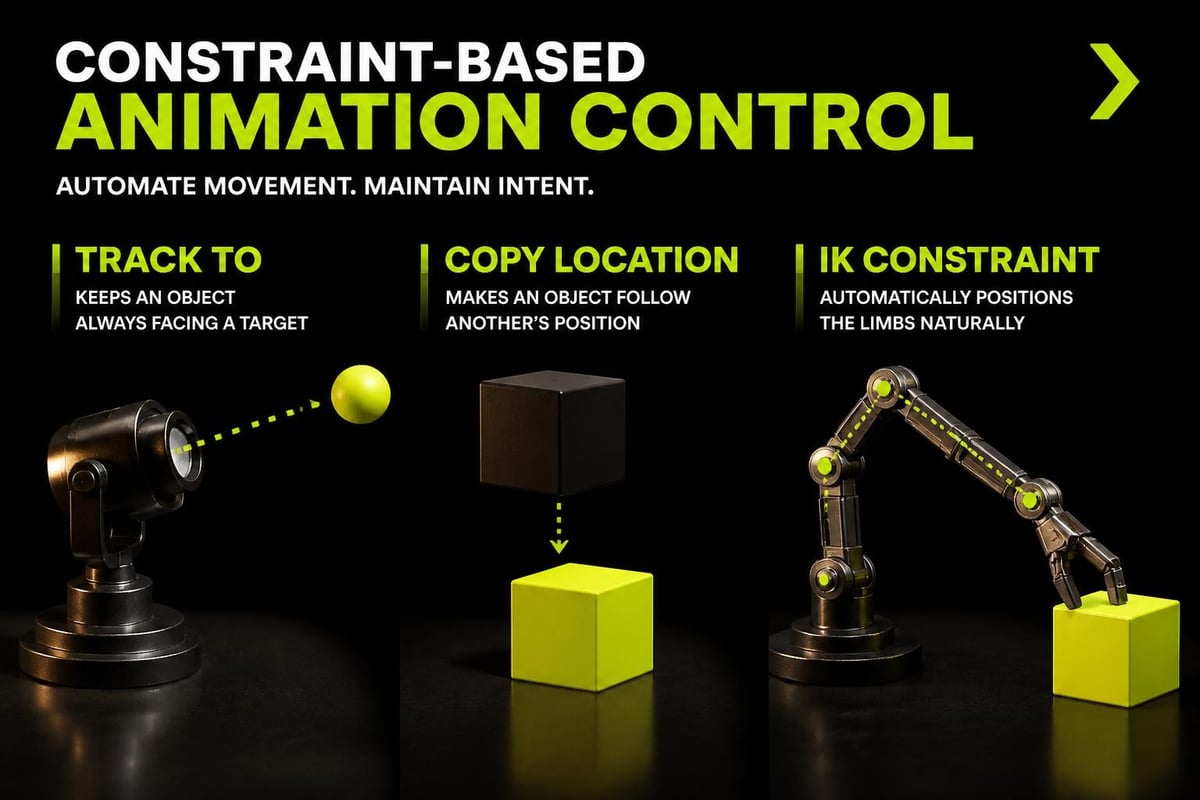
Constraints in Blender provide automated blender control that responds to other objects, bones, or properties. They reduce manual keyframing while maintaining precise control over motion.
Practical Constraint Applications
Copy Location constraints make objects follow others without direct parenting. Track To constraints point objects toward targets automatically. Limit constraints prevent unwanted rotations or translations, essential for mechanical rigs and realistic character joints.
The Child Of constraint offers blender control over parent-child relationships that can be animated. An object can smoothly transition from following one parent to another, crucial for hand-off animations where characters pick up or release objects.
- Copy Rotation: Match orientation of target object
- Transformation: Convert one axis movement to another
- Floor: Prevent objects from passing through surfaces
- Clamp To: Constrain movement along curve paths
Constraint influence values provide gradual blender control transitions. Setting influence to 0.5 creates a halfway blend between constrained and unconstrained states. Animating influence over time enables complex behaviors with minimal keyframes.
Physics Simulation Control
Physics systems in Blender require different blender control approaches than manual animation. Understanding simulation parameters and cache management ensures predictable results.
Rigid Body Physics Management
The rigid body physics system simulates solid object dynamics. Blender control over rigid bodies focuses on initial conditions, material properties, and collision shapes.
Critical rigid body parameters:
- Mass and center of mass distribution
- Friction and bounciness coefficients
- Collision margin and shape complexity
- Damping for translation and rotation
Animated objects can influence passive rigid bodies through the "Animated" property, providing blender control over when physics calculations apply. Combining keyframed animation with physics requires careful timing of the transition between control methods.
Soft Body and Cloth Dynamics
Soft body physics and cloth simulation add deformable material behavior. These systems demand more nuanced blender control through vertex groups and pinning.
| Property | Soft Body | Cloth |
|---|---|---|
| Goal weights | Define rigidity per vertex | Not applicable |
| Pinning | Lock vertices in place | Anchor fabric points |
| Self collision | Optional, expensive | Essential for folds |
| External forces | Wind, force fields | Wind, collision objects |
Vertex groups provide granular blender control over which mesh areas participate in simulation. Pinning specific vertices while allowing others to flow creates controlled chaos-fabric that billows naturally while remaining attached at specific points. For low-poly game assets, simpler cloth setups with fewer subdivisions often provide adequate visual quality with faster bake times.
Particle System Control
The particle system generates and manages thousands of elements. Blender control over particles involves emission parameters, physics settings, and instance objects.
Emitter objects spawn particles from faces or vertices. Blender control over emission includes:
- Frame start and end timing
- Particle lifetime and randomization
- Velocity direction and magnitude
- Rotation and angular velocity
Particle systems can instance geometry, replacing simple points with complex meshes. This transforms basic particle emissions into crowds, forests, or debris fields. Weight painting on emitter meshes provides blender control over emission density-more particles spawn from heavily weighted areas.
Forces affect particle trajectories without keyframing individual elements. Wind, turbulence, and vortex forces create natural-looking movement patterns. The blender control balance between physics accuracy and artistic direction determines whether simulations feel realistic or stylized.
Shape Key Animation Control
Shape keys enable mesh deformation without bones. This blender control method excels for facial animation, corrective shapes, and morphing effects.
Facial Animation Workflows
Production facial animation relies on dozens or hundreds of shape keys. Blender control over this complexity requires naming conventions and driver setups.
Effective shape key organization:
- Basis shape as neutral reference
- Individual phoneme shapes for lip sync
- Emotional expression combinations
- Corrective shapes for joint deformations
Drivers automate blender control by linking shape key values to bone rotations or custom properties. A jaw bone rotation can drive mouth opening shape keys, reducing keyframe requirements. This procedural blender control maintains consistent relationships between rig controls and mesh deformation.
The retopology process directly impacts shape key performance. Clean quad topology deforms predictably, while triangulated or n-gon meshes create artifacts during interpolation between shapes.
Retopology and Mesh Control
Clean topology provides better blender control during animation and texturing. Mesh structure determines how surfaces deform, how textures map, and how efficiently models render.
Edge flow follows natural form changes and muscle structures. Loop cuts placed at joint locations enable clean deformation during character animation. Blender control over topology density balances detail preservation with performance requirements. Production artists optimize mesh resolution for target platforms-game models use fewer polygons than film assets.
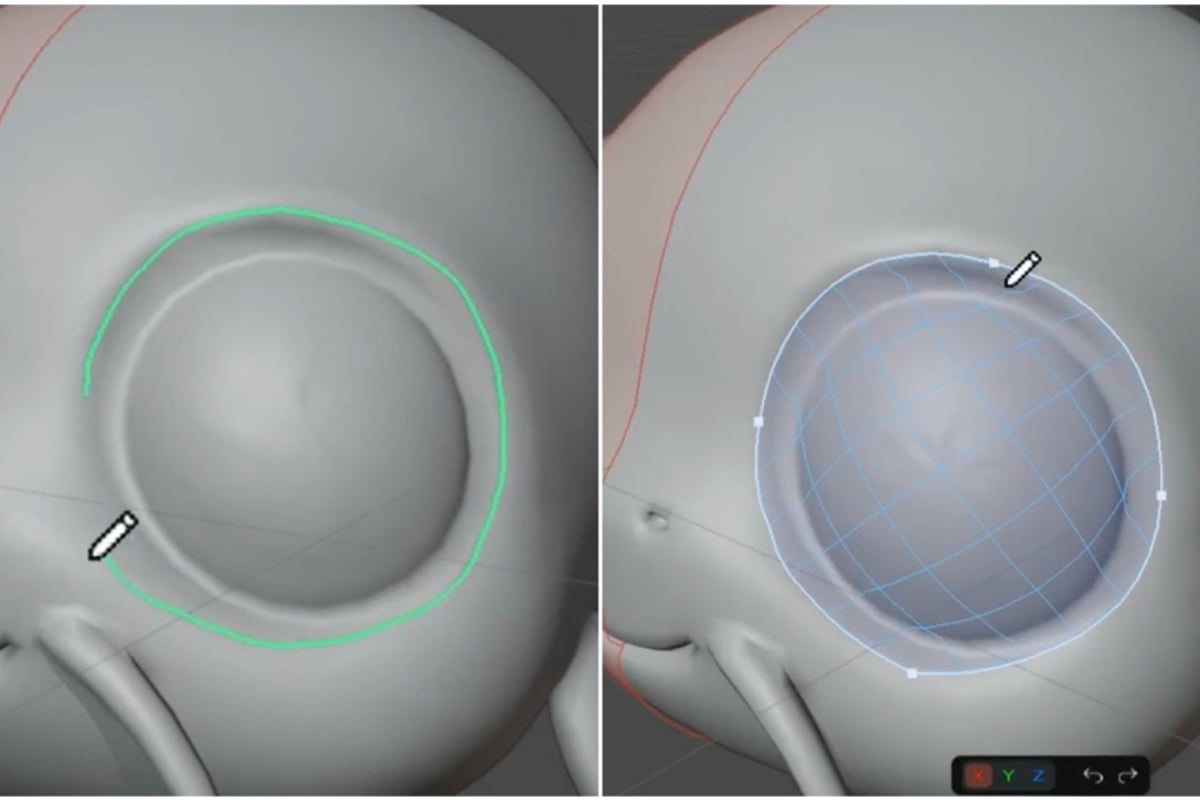
For artists seeking faster retopology workflows, tools that transform the vertex-by-vertex construction into more intuitive stroke-based approaches can dramatically accelerate clean mesh creation. RetopoSketch exemplifies this production-focused approach, turning retopology into sketching with vector control over edge flow.
Texture and Material Control
Material systems in Blender require precise control over shader networks, UV mapping, and texture painting. The texture and UV mapping workflow directly affects how much blender control artists maintain over surface appearance.
UV Layout Management
UV unwrapping projects 3D surfaces onto 2D texture space. Blender control over UV layouts determines texture resolution efficiency and seam visibility.
- Mark seams along natural boundaries
- Minimize stretching through angle-based unwrapping
- Pack islands efficiently to maximize texture space
- Align UV shells to texture grid for pixel art
The color palette approach offers tighter blender control over stylized game assets. Limited color counts reduce memory usage and enable efficient palette swaps for character variations. Understanding gradient texturing workflows provides additional blender control options for smooth color transitions without complex UV mapping.
Node-Based Shader Control
Shader nodes provide procedural blender control over material appearance. Mix nodes blend textures based on masks, ColorRamp nodes remap value ranges, and Math nodes create custom material behaviors.
| Node Type | Control Function | Common Use |
|---|---|---|
| Mix Shader | Blend material properties | Weathering, damage layers |
| ColorRamp | Remap values to colors | Toon shading, gradient effects |
| Mapping | Transform texture coordinates | Tile adjustment, rotation |
| Texture Coordinate | Define UV/generated coords | Procedural mapping control |
Driver-controlled material properties enable dynamic blender control. A custom property slider can adjust rust intensity across multiple materials simultaneously. This procedural approach scales better than manual texture painting for assets requiring variations.
Production-Focused Control Strategies
Real production environments demand efficient blender control that balances quality with deadlines. Tools built from actual production problems rather than theoretical needs provide the most value.
Workflow Optimization
Hotkey customization accelerates blender control access to frequently-used functions. Artists can reduce mouse travel and menu navigation by mapping tools to convenient key combinations. Pie menus organize related commands in radial layouts, providing faster access than nested menus.
Addons extend blender control beyond default capabilities. Purpose-built tools solve specific production bottlenecks-whether streamlining gradient palette texturing for stylized projects or accelerating retopology for high-resolution sculpts.
Key workflow principles:
- Minimize context switching between tools
- Automate repetitive technical tasks
- Maintain real-time feedback during editing
- Preserve non-destructive editing flexibility
The SavedPixel blog explores production-tested techniques built from game development experience rather than theoretical best practices. Understanding which Blender addons serve stylized workflows helps artists make informed tool choices.
Constraint-Based Rigging Systems
Advanced blender control combines constraints with custom properties and drivers. Inverse kinematics (IK) constraints position entire bone chains by moving end effectors. Forward kinematics (FK) provides direct rotation control for each joint.
IK/FK switching mechanisms give animators blender control over which approach suits specific movements. Reaching toward objects benefits from IK targeting, while wind-up poses work better with FK rotation control. A blend property smoothly transitions between systems without re-keyframing.
Pole targets guide IK solutions toward desired knee or elbow directions. Without pole target control, IK solvers may flip joints unpredictably. This blender control mechanism ensures consistent, animator-friendly behavior.
Custom Rig Properties
Custom properties create rig control panels directly in the viewport. Boolean properties toggle features on or off. Float sliders adjust blend values. These properties drive constraints, shape keys, and modifiers through driver expressions.
Advanced blender control rigs automate complex behaviors-squash-and-stretch volume preservation, automatic shoulder rotation following arm movement, or finger curl distribution from single controls. These systems reduce keyframe count while maintaining precise control over final animation.
Performance and Optimization Control
Production blender control extends to performance optimization. Viewport display settings balance visual feedback with responsiveness. Simplify panel settings globally reduce subdivision, particles, and shadows during animation playback.
Modifier stack order affects both appearance and performance. Subsurf modifiers placed after deform modifiers provide better blender control over final smoothing. Boolean operations benefit from proper object preparation-clean geometry and appropriate face counts prevent solver errors.
Scene organization through collections enables selective blender control over visibility, selectability, and render inclusion. Large projects with hundreds of assets remain manageable through hierarchical collection structures. Layer-based workflows from other software translate to collection-based organization in modern Blender versions.
Mastering blender control across modeling, animation, physics, and texturing separates hobbyist experimentation from professional production work. The techniques covered here provide foundation-level understanding, but real expertise develops through solving actual production challenges. Saved Pixel builds tools from precisely these real-world problems-streamlining workflows that working artists face daily, whether creating efficient palette textures for stylized games or accelerating retopology for organic characters. Explore production-focused solutions that eliminate bottlenecks rather than following trends.