 Get Palette Grid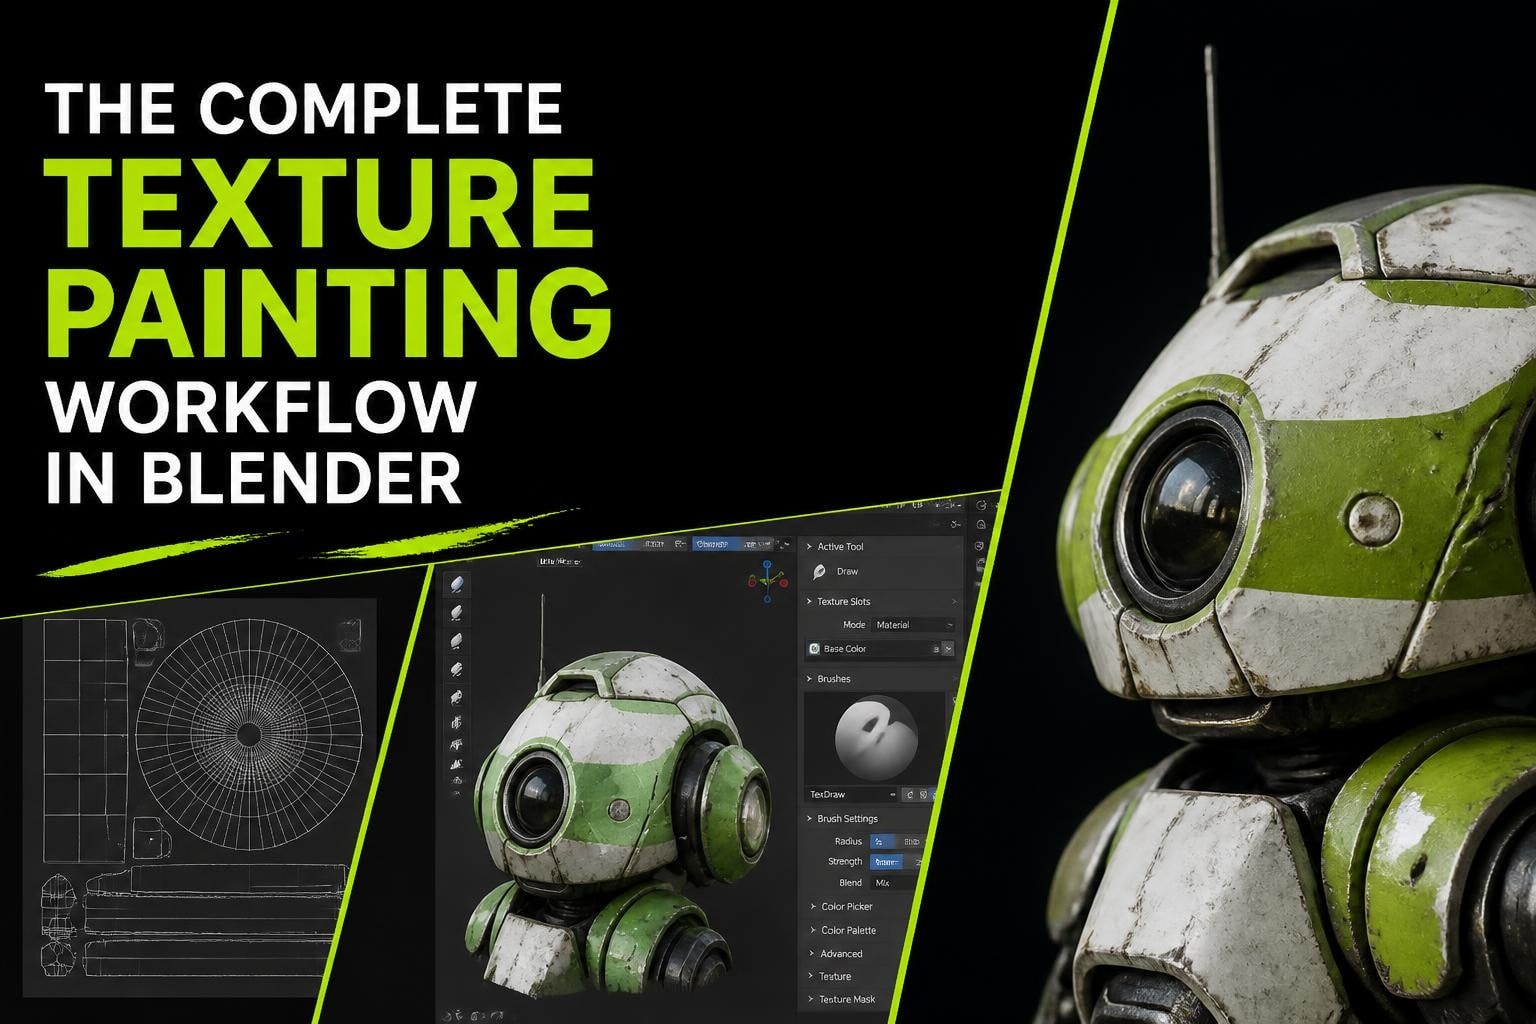
Texture painting in Blender transforms flat 3D models into vibrant, detailed assets by letting you paint directly onto mesh surfaces. Whether you're creating stylized game characters, realistic environments, or low-poly mobile assets, understanding blender how to texture paint unlocks creative workflows that keep you inside a single application instead of bouncing between Photoshop and your 3D viewport. This comprehensive guide covers everything from initial setup through advanced techniques, giving you production-ready knowledge for 2026.
Understanding Texture Paint Fundamentals
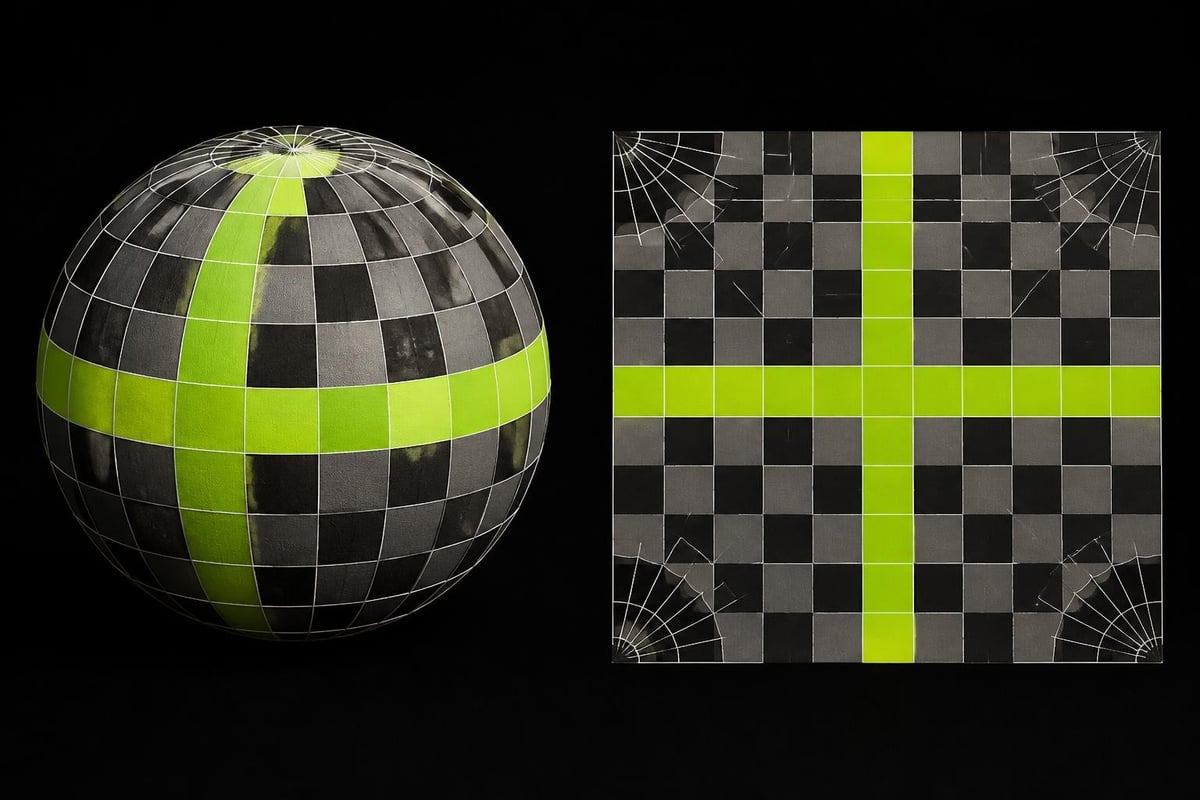
Texture painting applies color and detail information directly to a 3D model's surface through UV coordinates. When you learn blender how to texture paint, you're essentially creating 2D images that wrap around 3D geometry, similar to gift-wrapping paper conforming to a box's shape.
The process requires three foundational elements working together. First, your mesh needs proper UV unwrapping so Blender knows how to map 2D texture space onto 3D surfaces. Second, you need an image texture created and assigned to your material. Third, you activate Texture Paint mode to apply brush strokes that modify that image in real time.
UV Unwrapping Prerequisites
Before you can paint a single stroke, your model requires UV coordinates. Think of UV unwrapping as cutting apart a cardboard box and laying it flat-you're defining how 3D surfaces translate into 2D texture space.
Select your model in Object mode, switch to Edit mode (Tab), and press U to open the UV unwrapping menu. For simple objects, Smart UV Project works well, but organic models benefit from manual seam placement. Mark seams along natural edges where textures would logically separate (clothing edges, behind ears, under arms), then use Unwrap.
Check your UV layout in the UV Editor workspace. Islands should use texture space efficiently without excessive stretching. Proper UV mapping prevents distortion when you paint, ensuring brush strokes appear correctly on your 3D model.
Creating Your Base Texture
With UVs unwrapped, you need an actual image to paint on. In Texture Paint mode, the sidebar (N key) shows Image Paint properties. If no texture exists, click the + New button to generate one.
Configure these critical settings:
- Width/Height: Match your target resolution (1024x1024, 2048x2048, 4096x4096)
- Color: Choose black, white, or a base color matching your concept
- Alpha: Enable if you need transparency support
- Float Buffer: Disable unless working with HDR workflows
This comprehensive Blender texture painting guide demonstrates how texture resolution directly impacts detail capacity. Higher resolutions store more information but consume more memory and VRAM.
Setting Up Your Texture Paint Workspace
Blender's default Texture Paint workspace provides a solid foundation, but customization accelerates your workflow. Split your viewport to show both the 3D model and UV/Image Editor simultaneously, giving you instant feedback as you paint.
Workspace Configuration
Switch to Texture Paint workspace from the top menu bar. This preset automatically configures:
- 3D viewport in Texture Paint mode with proper shading
- UV/Image Editor showing your active texture
- Properties panel with brush and texture settings
- Outliner for layer management
Adjust your shading viewport mode to Material Preview or Rendered to see painted textures with lighting and materials applied. Solid mode shows only basic colors without material interactions, which can be useful for pure color work.
Enable the Tool Settings bar at the top of your 3D viewport. This displays active brush properties, symmetry options, and texture slots without requiring sidebar panels.
Material and Shader Setup
Your material's shader setup determines how painted textures appear on your model. A basic Principled BSDF setup works for most cases, but understanding the node connections prevents confusion when textures don't display properly.
In Shading workspace, ensure your Base Color input connects to an Image Texture node showing your paint texture. If you plan to paint normal maps, roughness, or metallic information, create separate image texture nodes for each channel and connect them to the appropriate Principled BSDF inputs.
This Blender 2.8 PBR texture painting tutorial shows advanced shader networks for physically-based rendering workflows. For stylized work, simpler setups often suffice.
| Texture Type | BSDF Input | Common Resolution | Use Case |
|---|---|---|---|
| Base Color | Base Color | 2048x2048 | Primary appearance, diffuse colors |
| Normal Map | Normal | 2048x2048 | Surface detail, depth illusion |
| Roughness | Roughness | 1024x1024 | Specular distribution |
| Metallic | Metallic | 1024x1024 | Metal vs. dielectric surfaces |
Mastering Texture Paint Tools and Brushes
Understanding blender how to texture paint effectively means mastering the brush system. Blender provides multiple brush types, each serving distinct purposes in your texturing workflow.
Essential Brush Types
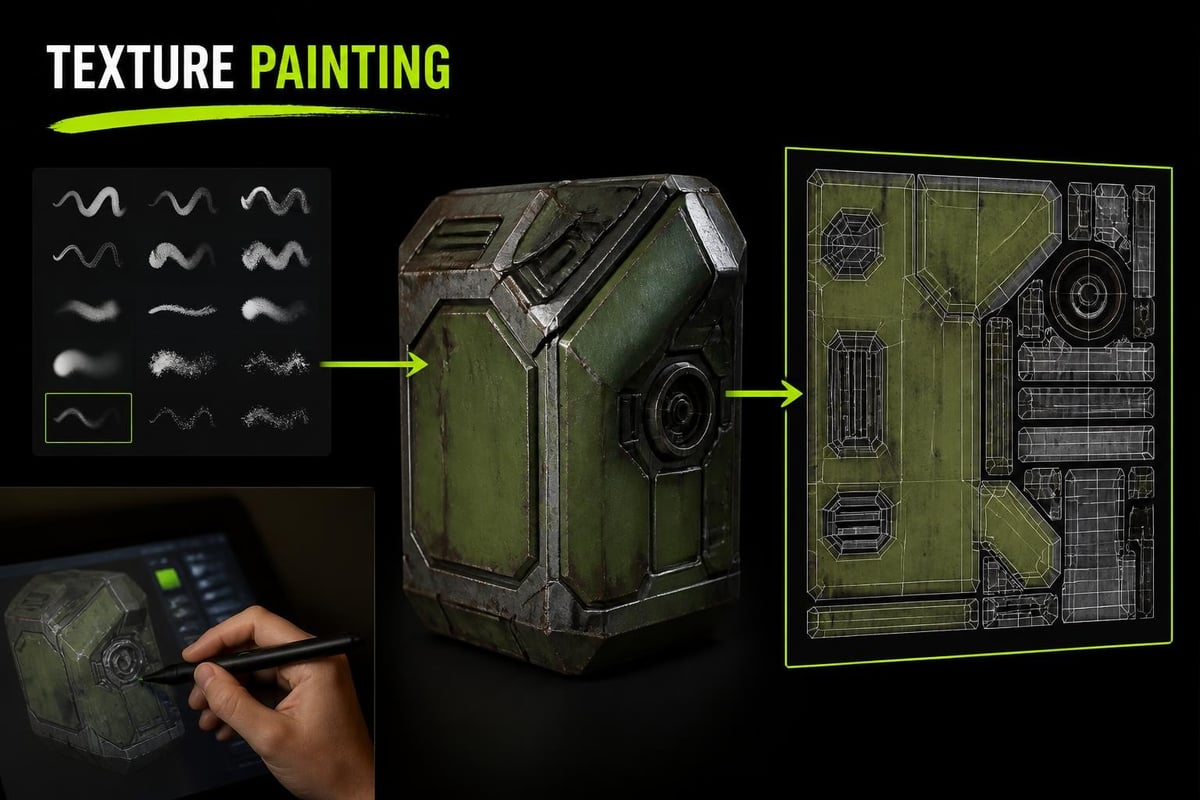
The Draw brush forms the foundation of texture painting. It applies color directly to your texture with adjustable opacity, hardness, and strength. Use it for base colors, hand-painted details, and general coverage.
Soften brush blurs existing colors, smoothing transitions between painted areas. This proves invaluable for blending hard edges and creating gradual color shifts without repeatedly sampling and painting intermediate tones.
Smear brush drags colors across the surface, similar to dragging wet paint with your finger. It creates organic streaks and redistributes existing colors without introducing new ones.
- Fill brush: Floods selected areas or entire textures with a single color
- Mask brush: Protects regions from further painting
- Clone brush: Samples and duplicates texture areas, useful for tiling patterns
Brush Settings That Matter
The Active Tool properties panel (sidebar, T key) reveals crucial brush parameters. Radius controls brush size-use bracket keys [ and ] for quick adjustments while painting. Strength determines opacity, ranging from 0 (transparent) to 1 (fully opaque).
Falloff curves define how brush strength decreases from center to edge. A linear falloff creates consistent gradients, while smooth falloff produces soft, airbrushed effects. Custom falloff curves let you create unique stroke characteristics matching your artistic style.
Enable Pressure Opacity and Pressure Size if using a graphics tablet. This makes brush behavior respond to pen pressure, creating natural variation in stroke width and opacity just like traditional painting tools.
Color and Texture Sampling
The Eyedropper tool (S key) samples colors directly from your 3D viewport or image editor. This eliminates manual color picker navigation when you need to match existing painted areas.
For production work, especially on stylized low-poly game assets, consider using limited color palettes. This maintains visual cohesion and can significantly reduce texture memory requirements when combined with palette-based workflows.
Texture masks add another dimension to brush control. Assign a grayscale image as your brush texture to create custom patterns-scales, scratches, fabric weave, or any detail you'd otherwise paint manually dozens of times.
Advanced Texture Paint Techniques
Once you've mastered basic painting, these advanced techniques accelerate production and improve quality. Professional game developers rely on these workflows when creating assets under tight deadlines.
Layer-Based Painting Workflow
While Blender doesn't offer native layer systems like Photoshop, you can simulate layers through shader mixing. Create multiple image textures and blend them using Mix Shader or Mix RGB nodes in your material.
This Blender 3.0 texture painting tutorial demonstrates shader-based layer mixing. Paint different details on separate textures, then adjust blend modes and factors non-destructively.
Benefits of this approach include:
- Preserve original work when experimenting with variations
- Adjust layer opacity after painting completes
- Isolate different detail passes (base colors, shadows, highlights)
- Share layers across multiple materials
Symmetry and Tiling Options
Enable symmetry in Tool Settings to mirror brush strokes across X, Y, or Z axes. This dramatically speeds up painting for symmetrical characters, vehicles, or architecture while ensuring perfect left-right balance.
For tiling textures, enable the Tiled option in Image Properties. This wraps your texture at edges, so painting on one side continues seamlessly on the opposite side. Critical for creating repeating ground textures, brick walls, or fabric patterns.
Combined with stencil mapping, tiled painting creates complex, seamless patterns with minimal effort. Position a stencil image over your texture, then paint through it to transfer details while maintaining tileability.
Painting Normal and Displacement Information
Beyond color, texture painting applies to other material channels. Create a new image texture specifically for normal map data, connect it to the Normal input of your Principled BSDF through a Normal Map node, then paint in Texture Paint mode with the normal image selected.
Blender converts your brush strokes into normal map information, creating the illusion of geometric detail without additional polygons. Paint white values to create raised areas and black for recessed regions. This technique proves essential for game assets where polygon budgets restrict geometry detail.
Optimizing Texture Paint for Production
Production environments demand efficiency. Understanding blender how to texture paint for real projects means balancing quality against performance, iteration speed, and technical constraints.
Resolution and Memory Management
Choose texture resolution based on asset importance and viewing distance. Hero characters in close-ups justify 4096x4096 textures, while background props work fine at 512x512 or 1024x1024. This guide on reducing draw calls and texture memory explains how resolution choices impact game performance.
Monitor your Image Editor's image size display. If you're painting on a 4K texture but your model only occupies 200x200 pixels in UV space, you're wasting resolution. Reorganize UVs to maximize texture space utilization.
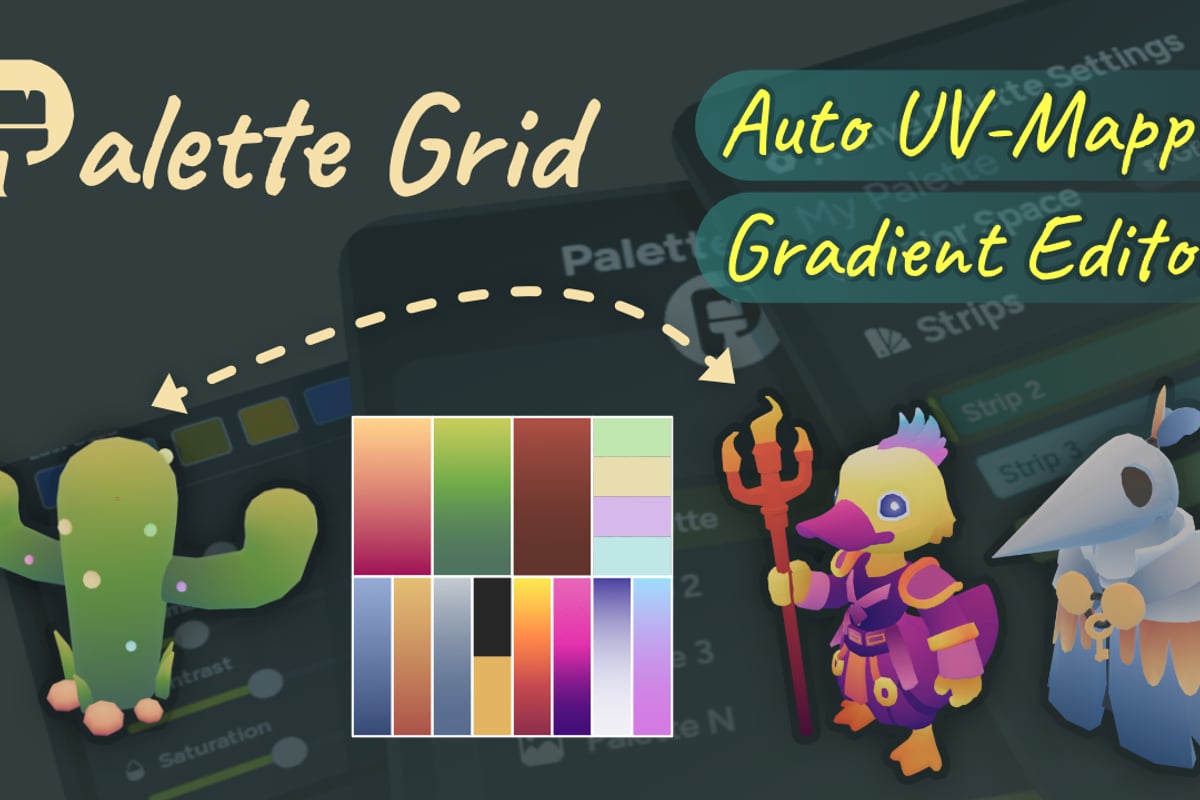
For stylized games, palette textures versus traditional atlases offer dramatically reduced memory footprints. Artists working with gradient palette workflows can build and edit these textures efficiently without jumping between applications. Palette Grid streamlines this exact workflow, letting you create and modify palette textures directly inside Blender with instant mesh updates, eliminating the export-import cycle entirely.
Baking Painted Details
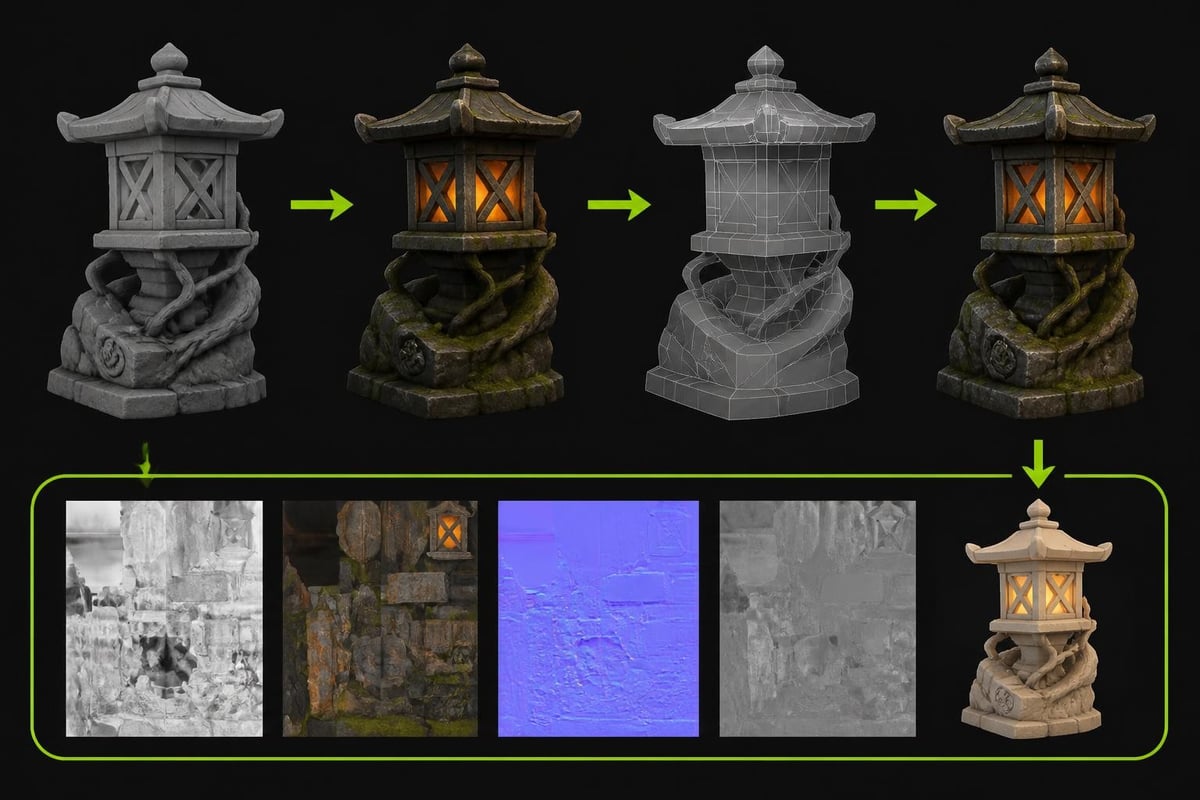
Once you've painted high-resolution details, you may need to transfer that information to lower-resolution game meshes. Blender's texture baking system projects painted details from high-poly models onto low-poly versions.
Set up two versions of your model: the detailed version with painted textures and a simplified low-poly duplicate. In Render Properties, select Cycles renderer and configure Bake settings. Choose your bake type (Diffuse for color, Normal for geometric detail), set Selected to Active, adjust Ray Distance, then bake.
The resulting texture contains all your hand-painted detail optimized for real-time rendering. This workflow appears frequently in low-poly texture painting tutorials focused on game development pipelines.
Common Texture Paint Issues and Solutions
Even experienced artists encounter texture paint challenges. These solutions address the most frequent problems reported in production workflows.
Texture Not Showing While Painting
If your brush strokes don't appear on your model, verify these checkpoints in order:
- Correct texture selected: In UV/Image Editor, ensure the active image matches what you're trying to paint
- Material assigned: Your mesh needs a material with the image texture connected to shader inputs
- Viewport shading: Switch to Material Preview or Rendered shading mode
- Active tool: Confirm you're in Texture Paint mode, not Edit or Object mode
- Image saved: New images exist only in memory until saved to disk
The most common mistake involves creating multiple image textures and painting on the wrong one. The UV/Image Editor always shows which image receives your brush strokes.
Pixelated or Blurry Painting
Pixelation occurs when texture resolution falls below screen-space pixel density. If a 512x512 texture covers a large surface viewed up close, individual texture pixels become visible as blocky squares.
Solutions include increasing texture resolution, reducing the surface area that texture covers, or accepting the pixelated aesthetic for stylized low-poly work. This beginner-friendly texture painting tutorial addresses resolution choices for different art styles.
Blurriness, conversely, results from texture filtering or painting with overly soft brushes. Increase brush hardness for sharper edges, or disable texture interpolation in image settings for pixel-art aesthetics.
| Problem | Cause | Solution |
|---|---|---|
| Strokes appear in wrong location | UV unwrapping issues | Re-unwrap with better seam placement |
| Colors look washed out | Incorrect color space | Set image to sRGB for color, Non-Color for data |
| Can't paint on some faces | Missing UV coordinates | Select affected faces, unwrap them |
| Painting is extremely slow | Very high resolution + low RAM | Reduce texture size or increase system memory |
Seam Visibility and Bleeding
UV seams create discontinuities where texture islands meet. Without proper margin settings, these seams become visible as bright or dark lines on your model's surface.
When creating your paint texture, enable Margin in the New Image settings. This expands paint strokes slightly beyond UV island boundaries, ensuring colors meet at seams. A 16-pixel margin works well for most resolutions.
After painting, use the Image menu's Inpaint tool on seam edges. This fills margin areas with colors extending from island interiors, further reducing seam visibility during texture filtering.
Integrating Texture Paint Into Your Pipeline
Professional workflows combine texture painting with other Blender features for maximum efficiency. Understanding these integrations prevents redundant work and maintains asset quality.
Painting After Retopology
For organic models, sculpt high-resolution details first, retopologize to create game-ready topology, then paint textures on the low-poly version while baking high-poly details. This sequence ensures painted textures align with your final mesh topology rather than temporary sculpt geometry. Once your retopology workflow produces clean quad topology, UV unwrap and paint knowing the mesh won't change structurally.
Combining Procedural and Painted Textures
Procedural textures generated through shader nodes provide excellent base layers. Add noise for subtle variation, use ColorRamp nodes for controlled gradients, then paint specific details on top of these procedural foundations.
Connect a Mix Shader between your procedural base and painted image texture. Adjust the factor to blend procedural variation with hand-painted focal details. This hybrid approach appears in gradient texturing workflows where artists need controlled color transitions with manual detail overlays.
Export and Game Engine Compatibility
After completing your texture painting, save images explicitly through the Image menu (Alt+S or Image > Save). Blender stores textures in memory until saved, risking data loss if the application crashes.
Choose appropriate formats for your target platform:
- PNG: Lossless compression, supports alpha, best for most game textures
- TGA: Uncompressed, larger files, maximum compatibility
- JPEG: Lossy compression, smaller files, avoid for textures needing sharp details
- EXR/HDR: High dynamic range, used for lighting and effects
Game engines like Unity and Unreal import standard image formats directly. Export your painted textures, then reference them in engine materials without additional conversion. This tutorial on creating a cozy fantasy house demonstrates the complete export pipeline from Blender to game engine.
Texture Paint Performance Optimization
Large textures and complex scenes challenge system resources. These optimization strategies maintain responsive painting even on modest hardware.
Keep texture resolution proportional to UV space usage. A character's face occupying 40% of UV layout deserves higher resolution than feet using 5%. Paint high-priority areas first at target resolution, then reduce resolution for secondary elements.
Disable unnecessary viewport overlays while painting. Annotations, statistics, and extra viewports consume GPU resources better dedicated to responsive brush strokes. Simplify your scene by hiding objects not currently being painted-focus on the immediate asset.
For extremely detailed work, paint sections separately on smaller textures, then combine them in image editing software or through Blender's compositor. This divides memory requirements across multiple sessions rather than loading everything simultaneously.
Backup and Version Control
Texture painting involves many subjective decisions and experimental strokes. Save incremental versions before major changes: "character_diffuse_v001.png", "character_diffuse_v002.png", "character_diffuse_final.png". This preserves previous work if you need to backtrack.
Enable Auto Save in Preferences > Save & Load. While this won't automatically save external image files, it protects your Blender scene file. Combine with manual image saves after each significant painting session to maintain recoverable checkpoints.
Real-World Texture Paint Applications
Understanding blender how to texture paint becomes most valuable when applied to actual production scenarios. Different industries and art styles demand adapted approaches.
Game Asset Creation
Game development prioritizes performance alongside visual quality. Paint base colors efficiently, use tiling textures where appropriate, and rely on baking to transfer sculpted detail onto low-poly meshes. This texture painting tutorial for game engines emphasizes performance-conscious techniques.
Mobile games especially benefit from aggressive optimization. Paint lower-resolution textures, reuse texture space across multiple objects, and consider palette-based workflows to minimize draw calls and texture memory usage.
Stylized Character Work
Stylized characters often use hand-painted textures with visible brush strokes and limited color palettes. Paint bold color blocking first, then add shadows and highlights with overlay blend modes. Accept imperfection-stylized work embraces visible artistic decisions rather than photorealistic precision.
PBR Material Creation
Physically-based rendering requires multiple texture maps working together. Paint your albedo (base color) first, ensuring no lighting information contaminates pure color values. Create roughness maps with grayscale values indicating surface smoothness. Add metallic masks defining metal versus non-metal surfaces. This PBR texture painting guide covers the complete workflow for realistic materials.
Verify PBR textures under varied lighting conditions. Rotate your HDRI environment or adjust light positions to confirm materials respond realistically to different lighting scenarios. Painted albedo should show no inherent lighting or shadow information.
Mastering texture painting in Blender requires understanding UV unwrapping fundamentals, brush control, and production-optimized workflows that balance quality against performance constraints. Whether creating stylized game assets or realistic PBR materials, painting directly on 3D surfaces keeps your workflow unified and responsive. When your texturing pipeline demands faster iteration and cleaner results, especially for stylized palette-based workflows, explore the tools available at Saved Pixel built specifically to solve real production bottlenecks. These addons streamline repetitive tasks so you spend more time creating and less time fighting your tools.