
 Get Palette Grid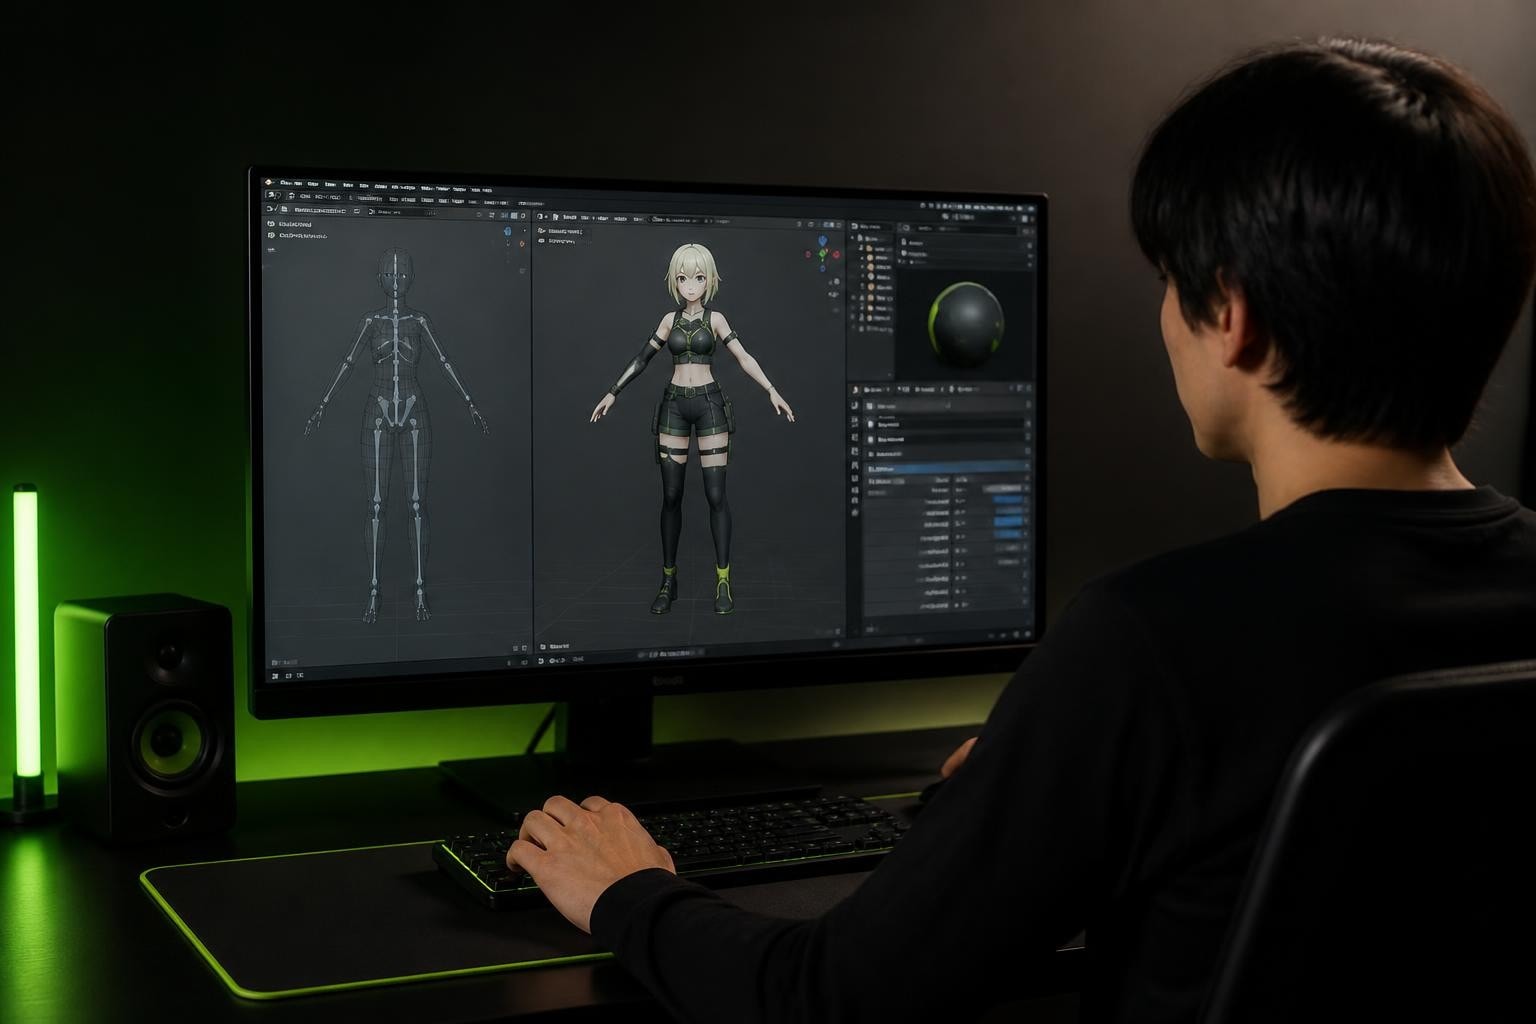
The VRM format has become essential for 3D avatars across virtual platforms, VTubing applications, and metaverse experiences. For Blender users, the blender vrm addon bridges the gap between professional 3D modeling workflows and the specialized requirements of avatar-ready files. This addon transforms Blender into a complete VRM authoring environment, enabling artists to import existing avatars, create new ones from scratch, and export production-ready characters with proper rigging, materials, and metadata. Understanding how to leverage this tool effectively can dramatically streamline your avatar creation pipeline.
Installing and Setting Up the VRM Addon
The blender vrm addon installation process follows Blender's standard addon management system but requires attention to version compatibility and dependencies. Before beginning, verify that you're running a compatible Blender version, as the addon receives regular updates to support new VRM specifications and Blender releases.
Download the latest release from the official repository or through the VRM Add-on for Blender documentation, which provides direct links and version notes. The addon comes as a ZIP file that you should not extract-Blender handles the installation directly from the compressed package.
Installation Steps
Open Blender and navigate to Edit > Preferences
Select the Add-ons tab
Click Install and browse to your downloaded ZIP file
Locate "VRM" in the addon list and enable the checkbox
Save preferences to ensure the addon loads on restart
The addon integrates directly into Blender's import/export menus, adding new File > Import > VRM and File > Export > VRM options. Once enabled, you'll also notice VRM-specific panels in the Scene properties when working with VRM-compatible armatures.
Configuration considerations include setting your default export directory, choosing preferred material handling, and configuring automatic bone mapping preferences. These settings appear in the addon preferences panel and affect how the blender vrm addon interprets your scenes during export operations.
Importing VRM Files Into Blender
The import functionality transforms VRM files into native Blender objects while preserving avatar-specific data like spring bones, blend shape groups, and metadata. The import process offers several options that determine how your avatar appears and behaves in Blender's environment.
When you import a VRM file, the addon automatically creates an armature with humanoid bone mappings, meshes with associated materials, and any spring bone physics configurations. This conversion process attempts to match VRM's material system, particularly the MToon shader, to Blender's node-based materials.
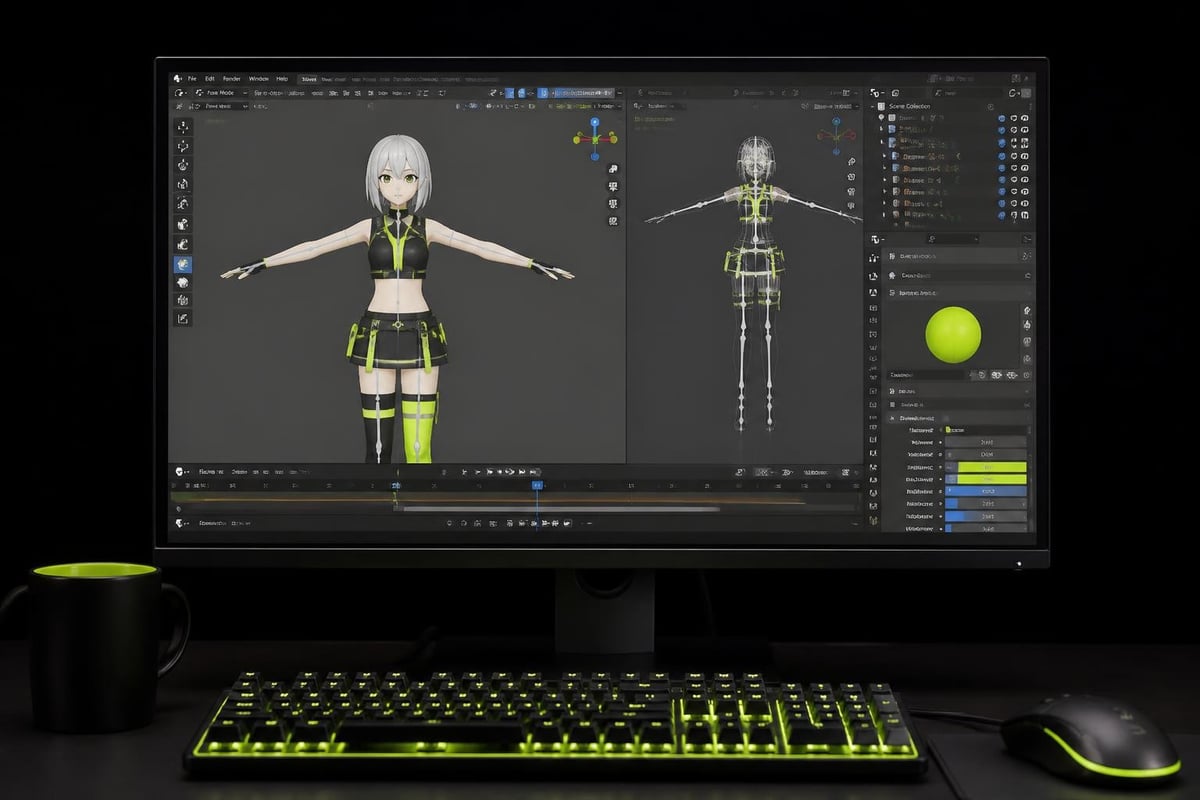
Import Options Explained
Option | Purpose | When to Use |
|---|---|---|
Extract Textures | Saves embedded textures to disk | Always recommended for editing materials |
Bone Display | Controls armature visualization | Adjust based on viewport performance needs |
Mesh Cleanup | Removes redundant geometry data | Enable for cleaner topology inspection |
The blender vrm addon handles texture extraction intelligently, creating a folder structure that mirrors the avatar's material organization. This becomes crucial when you need to edit textures externally or when preparing assets for version control systems.
Material conversion deserves special attention. The addon translates MToon shader properties into Blender's Principled BSDF nodes with custom node groups that approximate the toon shading behavior. While not identical to real-time MToon rendering, this approach provides a workable preview during modeling and editing stages.
Creating VRM-Compatible Avatars
Building avatars from scratch requires understanding VRM's humanoid bone structure and material requirements. The blender vrm addon expects specific bone names and hierarchies that conform to VRM specifications, though it offers some flexibility through bone mapping interfaces.
Start with a properly rigged humanoid armature that includes all required bones: hips, spine, chest, neck, head, and limbs with appropriate joints. Optional bones like fingers, toes, and facial bones enhance avatar expressiveness but aren't mandatory for basic VRM export.
Required Bone Structure
Core bones: Hips (root), Spine, Chest, Neck, Head
Arm chains: Shoulder, UpperArm, LowerArm, Hand per side
Leg chains: UpperLeg, LowerLeg, Foot per side
Optional: Fingers (3 joints each), Toes, Eyes, Jaw
The bone naming convention matters less than the mapping process. The blender vrm addon provides a bone assignment panel where you manually map your rig's bones to VRM's humanoid skeleton. This flexibility allows you to work with existing rigs or custom naming schemes without rebuilding armatures.
Weight painting quality directly impacts how your avatar deforms in target applications. Focus on smooth transitions at joints, avoiding hard breaks in influence that cause visible geometry tears. The addon doesn't modify weights during export, so your paint work transfers exactly as created.
Material setup for VRM requires transitioning from Blender's physically-based rendering approach to MToon's stylized toon shader parameters. The blender vrm addon recognizes specific material properties and converts them appropriately during export.
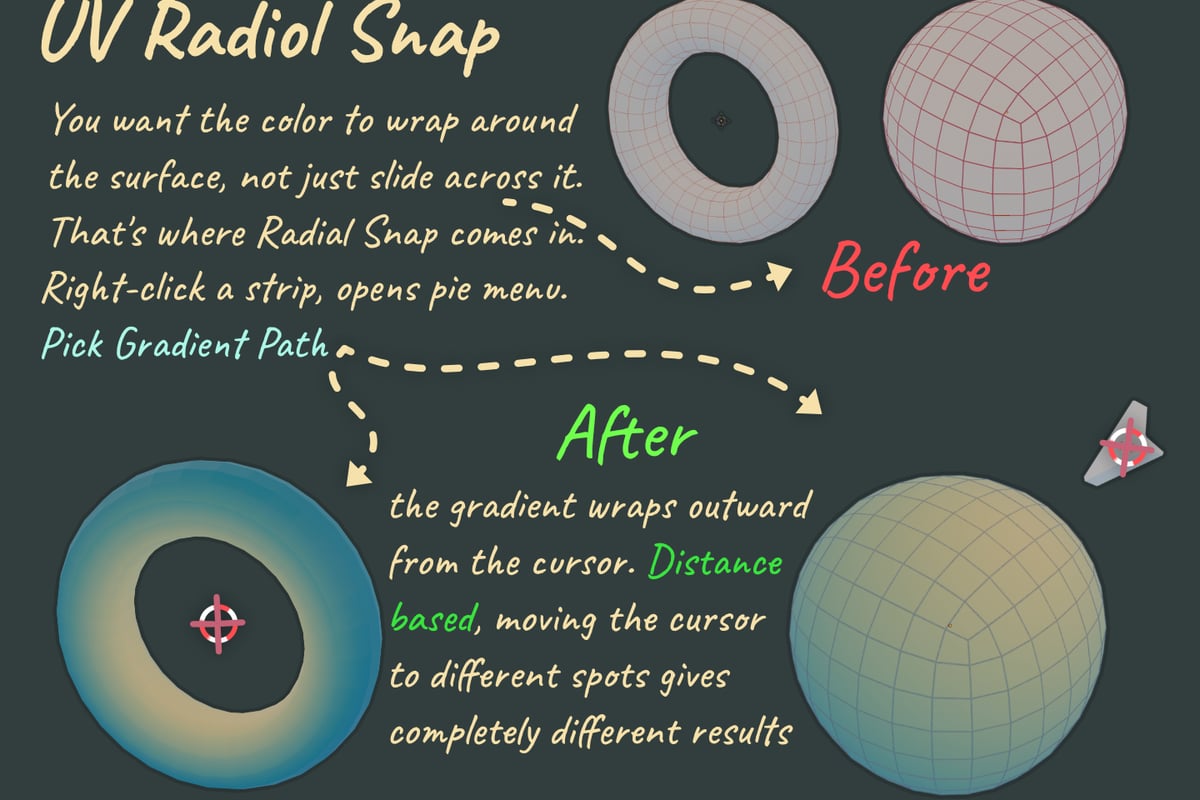
For stylized avatars that use gradient palette textures, establishing an efficient workflow becomes essential. Palette Grid streamlines this process by letting you create and edit palette textures directly in Blender without jumping to external editors, which proves particularly valuable when you need to iterate quickly on character color schemes while maintaining the flat, cel-shaded aesthetic common in VRM avatars.
Exporting VRM Files From Blender
The export process transforms your Blender scene into a standardized VRM file with embedded metadata, textures, and configuration data. This operation requires careful attention to settings that affect file size, compatibility, and avatar behavior in target platforms.
Before exporting, verify that your armature has proper VRM bone mappings assigned and that all materials use compatible shader setups. The blender vrm addon performs validation checks but catching issues beforehand saves troubleshooting time.
Export Checklist
Prepare your scene by ensuring only the avatar objects are selected or that you're exporting from a clean collection. The addon exports selected objects by default, but scene clutter can accidentally include unwanted meshes or armatures.
Configure metadata including avatar name, version, author information, and permissions. This data becomes embedded in the VRM file and appears in compatible viewers and applications. Thumbnail images also embed directly, providing visual identification in avatar selection interfaces.
Texture handling offers two primary approaches: embed textures directly in the VRM file for portability, or reference external files for smaller file sizes. Embedded textures simplify distribution but increase file size significantly. Most production workflows favor embedding for end-user convenience.
Export Setting | Embedded Textures | External Textures |
|---|---|---|
File Size | Larger (5-20 MB typical) | Smaller (1-3 MB typical) |
Portability | Single file, easy sharing | Requires texture folder |
Editing | Requires re-export | Direct file editing possible |
The blender vrm addon compresses textures during export using PNG format by default. For avatars with many high-resolution textures, this compression significantly impacts final file size and loading performance in target applications.
Advanced VRM Features and Customization
Spring bones add secondary motion to hair, clothing, and accessories, creating natural movement that responds to avatar animation. The blender vrm addon supports spring bone configuration through custom properties and bone hierarchy conventions.
Create spring bone chains by organizing bones in parent-child relationships and marking them with VRM spring bone properties. Each chain requires a root bone and one or more child bones that swing based on physics parameters like stiffness, drag, and gravity influence.
Blend shape groups organize facial expressions and visemes (mouth shapes for speech). The addon recognizes blend shapes created through Blender's shape key system and allows grouping them into preset categories like Blink, LookUp, LookDown, and custom expression sets.
Spring Bone Parameters
Stiffness: Resistance to bending (0.0 to 4.0)
Gravity Power: Downward pull strength
Gravity Direction: Vector defining gravity direction
Drag Force: Air resistance simulation
Hit Radius: Collision detection sphere size
Configure these parameters through the VRM addon's spring bone panel, which appears when you select bones marked as spring bone elements. Testing spring bone behavior requires exporting and loading into a VRM-compatible viewer, as Blender doesn't simulate spring bone physics in its viewport.
The blender vrm addon version 2.0 and later supports VRM 1.0 specification features including updated material models, improved expression handling, and expanded metadata fields. When exporting, choose between VRM 0.0 (broader compatibility) and VRM 1.0 (newer features) based on your target platform requirements.
Troubleshooting Common VRM Workflow Issues
Material conversion problems frequently occur when Blender materials use complex node setups that don't translate to MToon's simpler model. The blender vrm addon attempts intelligent conversion but may produce unexpected results with procedural textures, mix shaders, or advanced node groups.
Solution approach: Simplify materials to use image textures connected to Principled BSDF nodes. The addon handles this configuration most reliably, converting base color, emission, and normal maps appropriately.
Bone mapping errors prevent export when required bones lack assignments or when multiple bones map to single VRM slots. The addon's validation system highlights these conflicts, but understanding the humanoid bone structure helps prevent them during initial rigging.
Common Export Errors
Missing required bones: Assign all mandatory humanoid bones before export
Texture path issues: Ensure textures save to accessible locations
Invalid blend shapes: Verify shape key names match VRM conventions
Armature modifiers: Apply or configure modifier export order correctly
Performance optimization becomes critical for avatars intended for real-time platforms with polygon and texture budget constraints. The blender vrm addon exports geometry exactly as modeled, so optimization must happen before export through decimation, texture atlas creation, or LOD modeling.
Target platforms often specify maximum polygon counts ranging from 7,500 to 70,000 triangles depending on usage context. Mobile VR applications enforce stricter limits than desktop applications. Review your target platform's avatar requirements to ensure compatibility.
Texture resolution similarly affects performance. Most platforms recommend 2048x2048 maximum for body textures and 1024x1024 for accessories. The blender vrm addon doesn't enforce these limits, placing responsibility on the artist to optimize appropriately.
VRM Metadata and Platform Integration
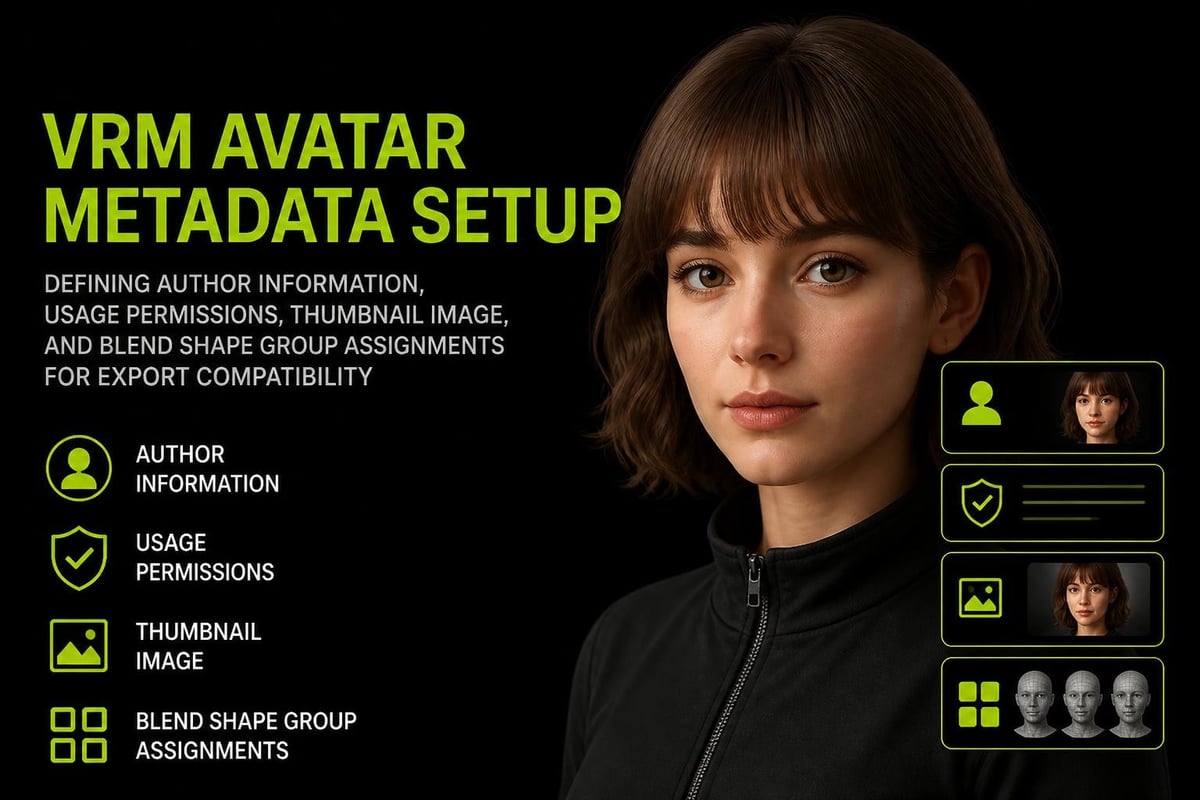
Metadata configuration extends beyond basic avatar information to include licensing terms, allowed usage contexts, and commercial permission flags. The blender vrm addon provides fields for all standardized VRM metadata through its export panel.
Avatar permissions include flags for violent usage, sexual usage, commercial usage, and modification rights. These settings don't enforce technical restrictions but communicate creator intentions to platforms and users. Properly configured metadata helps platforms categorize and filter avatars appropriately.
Thumbnail generation requires rendering your avatar in Blender and saving the image, then selecting it in the VRM export metadata panel. The addon embeds this thumbnail at standardized resolution, providing visual identification in avatar selection menus across compatible applications.
Platform-Specific Considerations
Different virtual platforms interpret VRM files with varying degrees of standard compliance. Some platforms support all VRM features, while others impose restrictions or modifications during import. Understanding these platform-specific behaviors helps you configure exports appropriately.
VRChat converts VRM imports to its native avatar format, translating materials and removing some VRM-specific features. VSeeFace and other VTubing applications typically support VRM features more completely, including spring bones and blend shape animations.
Testing exported avatars in target platforms remains essential. The blender vrm addon produces standards-compliant files, but platform-specific quirks may require export setting adjustments or model modifications for optimal results.
Integrating VRM Workflows With Production Pipelines
Professional avatar creation pipelines typically involve multiple tools and specialists. The blender vrm addon fits into these workflows as the final authoring and export stage, accepting assets from sculpting applications, texture painters, and rigging specialists.
Version control considerations include whether to commit VRM files directly or only source Blender files. VRM files contain binary-encoded data that doesn't diff well in typical version control systems, making Blender source files the preferred tracked asset with VRM exports treated as build artifacts.
Collaborative workflows benefit from establishing naming conventions and file organization standards. When multiple artists work on avatar components, consistent material naming, bone hierarchies, and collection structures prevent conflicts during final assembly and export.
The Saved Pixel documentation explores workflow optimization approaches built from production experience, offering insights into structuring projects for efficiency and maintainability. These principles apply directly to VRM avatar creation where iteration speed and asset organization impact delivery timelines.
Automation opportunities exist through Blender's Python API, which can script repetitive VRM export tasks. The blender vrm addon exposes most functionality to scripts, enabling batch export, automated metadata population, or custom validation checks integrated into studio pipelines.
Material Workflow Optimization
Material creation represents a significant time investment in avatar production. The blender vrm addon's material conversion system works most effectively when artists understand the target MToon shader's capabilities and limitations compared to Blender's rendering engine.
Base color maps transfer directly with minimal conversion. Ensure textures use RGB color space and appropriate resolution for target platforms. The addon embeds these textures in exported VRM files unless configured otherwise.
Normal maps require attention to coordinate space conventions. Blender uses OpenGL normal map convention (+Y), while some platforms expect DirectX (-Y). The addon handles conversion, but verifying normal map appearance in target applications prevents subtle shading errors.
Emission maps create glowing effects on avatars, commonly used for eyes, magical effects, or accent lighting. The blender vrm addon converts Blender emission strength and color to MToon emission properties, though exact appearance may vary based on platform rendering implementation.
Material Property Mapping
Blender Property | VRM/MToon Property | Conversion Notes |
|---|---|---|
Base Color | Lit Color | Direct mapping |
Emission | Emission | Strength scaled appropriately |
Normal Map | Normal Map | Coordinate space handled |
Alpha | Transparency | Both cutout and fade modes |
Outline rendering settings specific to MToon require manual configuration through VRM material properties. The blender vrm addon provides interface elements for outline width, color, and mode settings that don't have direct Blender equivalents.
Shader variants like MToon with outline or transparent MToon affect how avatars render in different applications. Choosing appropriate shader types during material setup ensures your avatar appears as intended across platforms.
Future Development and Community Resources
The blender vrm addon continues active development with regular updates supporting new VRM specification versions and Blender releases. Tracking the official documentation ensures you stay current with new features and compatibility improvements.
Community resources including tutorials, example files, and troubleshooting forums provide valuable learning materials. The Saved Pixel community offers discussions on avatar creation workflows and technical problem-solving from production perspectives.
Emerging features in development include improved material preview systems, enhanced spring bone visualization, and streamlined blend shape management. These additions address common workflow friction points identified through user feedback and production usage.
Integration with complementary Blender addons expands avatar creation capabilities. Retopology tools help optimize high-polygon sculpts to performance-appropriate mesh density, while specialized rigging addons accelerate armature creation and weight painting tasks. RetopoSketch represents this approach, transforming retopology into a sketching workflow that produces clean quad topology efficiently.
The VRM specification itself evolves, with version 1.0 introducing significant improvements over the original 0.0 specification. The blender vrm addon supports both versions, allowing artists to choose based on platform compatibility requirements versus access to newer features.
The blender vrm addon transforms Blender into a complete avatar authoring platform, handling the complexity of VRM specifications while preserving the modeling and texturing workflows artists already know. Mastering import, export, and customization workflows enables efficient avatar production for virtual platforms, VTubing, and metaverse applications. When you need production-proven tools built to solve real workflow problems, explore what Saved Pixel offers-addons designed by working developers who understand the difference between trendy features and genuine productivity improvements.